
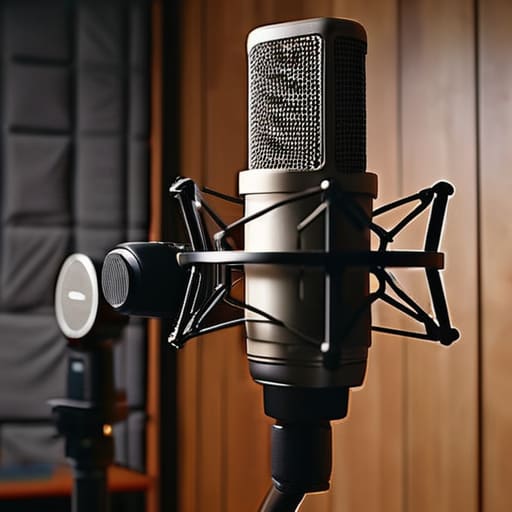
I remember sitting in a cramped spare bedroom in Solihull, staring at a $400 order confirmation for a “professional” acoustic foam kit that arrived three weeks late, only to realize the room still sounded like a tiled bathroom. It’s a classic rookie mistake: thinking you can buy your way out of a bad room. The truth is, you don’t need a studio budget to kill that hollow, fluttery echo that makes a podcast sound amateur. If you want to know how to use blankets for acoustic treatment effectively, you need to stop looking at Amazon and start looking at your linen cupboard. A heavy, dense duvet hung correctly will do more for your mid-range frequencies than a thin sheet of cheap foam ever could.
In this guide, I’m going to skip the fluff and tell you exactly what works. I’ll show you which fabrics actually have the mass required to soak up sound, where to position them to catch those bouncing reflections, and why a simple clothes rack might be your most important piece of gear. No sales pitches, just the practical physics of how to use blankets for acoustic treatment so you can finally stop fighting the room and start focusing on the edit.
Guide Overview
Tools & Supplies
- Measuring tape for determining wall spacing
- Command hooks or heavy-duty clips for non-permanent mounting
- Scissors for trimming excess fabric
- Heavy moving blankets or thick wool blankets (4-8 blankets)
- Tension rods or curtain rods for hanging
- Safety pins or binder clips to layer fabric thickness
Step-by-Step Instructions
- 1. First, you need to identify the problem areas, which are almost always the hard, parallel surfaces facing you. Don’t just throw a blanket over your head like a ghost; you need to find where the sound is bouncing most aggressively. Stand where you plan to sit and clap your hands loudly; if you hear a sharp, metallic ring, that’s your target.
- 2. Grab the heaviest blankets you own. I’m talking wool, heavy duvets, or those thick moving blankets you can get from a hardware store. Thin fleece or cheap bedsheets are essentially useless because the sound waves will just pass right through them without losing any energy. If you can see light through the fabric when you hold it up, it’s probably too thin to do much for your low-mids.
- 3. Hang the blankets behind you and directly in front of you. Most beginners obsess over the wall they are facing, but the reflection coming off the wall behind your head is what usually kills your depth and makes you sound like you’re in a tin can. Use command hooks, heavy-duty tape, or even a tension rod in a doorway if you’re working in a small nook.
- 4. Focus on the “first reflection points.” If you’re sitting at a desk, the sound travels from your mouth, hits the wall to your left or right, and bounces straight into the mic. This is where you need to prioritize your placement. You don’t need to cover every inch of the room, but you do need to break up those direct paths between the source and the walls.
- 5. Don’t forget the floor. If you are recording on a hardwood or laminate surface, you are essentially sitting in a giant echo chamber. Even if you can’t hang things on the walls, throwing a thick rug or a heavy comforter on the floor between you and the microphone will do more for your signal-to-noise ratio than any software plugin ever could.
- 6. If you’re really struggling with a particularly “live” room, build a makeshift vocal booth using a clothes drying rack. Drape your heaviest blankets over the rack to create a U-shape around your microphone and your head. It looks ridiculous and you’ll feel like you’re recording in a tent, but it creates a controlled acoustic environment that mimics a much more expensive studio.
- 7. Test your work before you commit to a full recording session. Record thirty seconds of yourself talking at your normal volume, then play it back through a good pair of headphones. If you still hear that “roominess,” add more mass. It’s better to spend an extra ten minutes fiddling with the fabric now than to realize you have an unusable recording after you’ve already spent three hours interviewing a guest.
The Truth About Sound Absorption vs Diffusion in Small Rooms
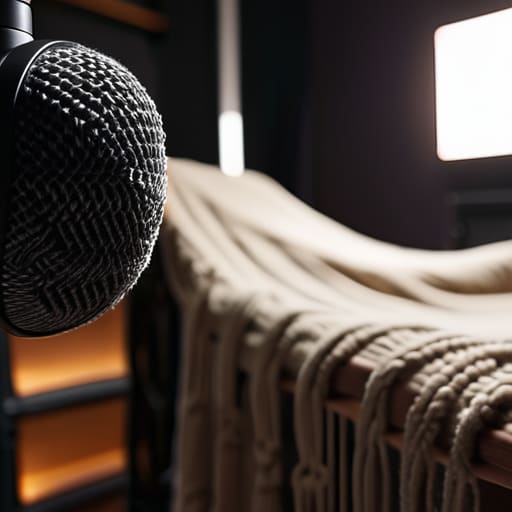
Here is the reality: most beginners think they just need to make a room “quiet,” but they actually need to manage how sound behaves once it’s inside. This is where the whole sound absorption vs diffusion debate comes in. When you’re hanging blankets, you are strictly working on absorption. You are trying to soak up those high and mid-range frequencies so they don’t bounce back into your mic and create that hollow, “bathroom” sound. Diffusion is a different beast—it’s about scattering sound waves so they don’t hit a flat surface and bounce straight back—and you generally can’t achieve that with soft fabric.
If you’re just reducing room echo with fabric, don’t expect to turn a concrete garage into a deadened professional studio. Blankets are great at killing the flutter echo that makes a recording sound amateur, but they won’t stop the low-end rumble of a truck driving past your house. If you want effective acoustic treatment for recording vocals, focus on the spots where the sound hits first. Don’t just drape them everywhere; target the walls directly in front of and behind you to stop the most immediate reflections.
Diy Acoustic Panels With Moving Blankets That Actually Work
If you’re going to move past just draping a sheet over a chair, you need to treat these like actual gear. When I talk about DIY acoustic panels with moving blankets, I’m not talking about pinning them flat against the drywall. If the fabric is flush against the wall, you’re only catching the high frequencies, leaving that annoying low-mid muddiness to bounce around your desk. You want to create an air gap. Use a wooden frame or even just some heavy-duty command hooks to hang them about two to three inches away from the surface. That space allows the sound waves to pass through the fabric, hit the wall, and pass through the fabric again on the way back out.
Don’t waste your money on thin fleece or cheap polyester. For effective acoustic treatment for recording vocals, weight is everything. You want moving blankets that are heavy—ideally at least 7 to 9 pounds per unit. If you can see light through the weave when you hold it up to a lamp, it’s too thin to do anything useful for your recording. Density is your best friend here.
Five ways to stop your recordings from sounding like a bathroom
- Stop hanging blankets flat against the wall. If you want them to actually catch sound waves, you need to create depth. Drape them with folds or pleats—think stage curtains. That extra surface area and the air pockets between the folds do more for absorption than a single, tight layer ever will.
- Focus on the “first reflection points.” Sit where you’ll be recording and have someone slide a mirror along the walls. Wherever you see your speaker or your mouth in that mirror, that’s where the blanket needs to go. That’s where the sound is bouncing straight into your mic and ruining your signal-to-noise ratio.
- Don’t ignore the floor. If you’re recording in a room with hardwood or laminate, you’re basically living in a reverb tank. Throw down a thick rug or even a couple of folded blankets right under your chair and the mic stand. It kills the floor bounce that makes voices sound thin and hollow.
- Watch out for the “corner buildup.” Low-frequency energy—that muddy, boomy sound that makes a podcast sound amateur—loves to congregate in corners. If you have extra heavy blankets, don’t be afraid to bunch them up in the corners of the room to act as makeshift bass traps.
- Check your mic’s proximity to the treatment. You don’t need to be wrapped in a cocoon, but if you have a blanket hanging directly behind your head, it will catch the sound traveling past your mic and prevent it from bouncing off the back wall. It’s a small tweak that makes a massive difference in clarity.
The short version
Stop chasing professional foam; thick, heavy blankets do more to kill room reverb than those thin egg-carton things you see on Amazon.
Focus on the “first reflection points”—the spots on the walls directly to your left and right—rather than trying to cover every square inch of the room.
If you can’t hang anything, a heavy duvet draped over a high-backed chair or a drying rack right behind your mic will save your recording more than any software plugin.
## The "Studio" Illusion
Stop looking at gear catalogs and start looking at your walls. You can spend three grand on professional foam that’s basically just glorified egg cartons, or you can hang two heavy moving blankets and actually kill the reverb. In a small room, density beats aesthetics every single time.
Nadine Okafor
Stop overthinking it and just record
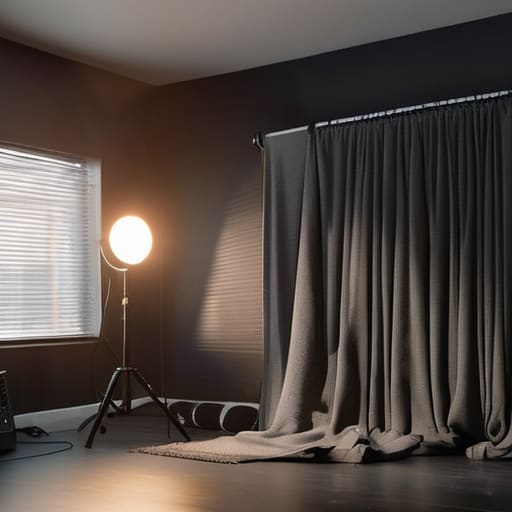
At the end of the day, you’ve learned that you don’t need a professional studio or a massive budget to fix a boxy, echoing room. We’ve covered how to differentiate between absorption and diffusion, how to hang those heavy moving blankets without making your room look like a laundry mishap, and how to build panels that actually catch the low-mid frequencies instead of just looking pretty. The goal isn’t to achieve a dead, vacuum-sealed silence—that sounds unnatural and frankly, quite boring to listen to. The goal is to control the reflections so your listener isn’t distracted by the sound of your voice bouncing off a bare drywall. Just get the blankets up, find the primary reflection points, and move on to the next task.
I know it feels like you’re playing at being a professional when you’re hanging household items from command hooks, but please believe me: the listener cannot tell the difference between a $2,000 acoustic treatment and a well-placed heavy quilt. They can, however, tell immediately if your audio sounds thin and hollow. Don’t let the lack of “official” gear keep you from hitting record. The most important part of this entire process isn’t the gear you use to treat the room; it’s the content you actually produce once the room is quiet enough to hear it. Now, stop reading about acoustics and go make something worth listening to.