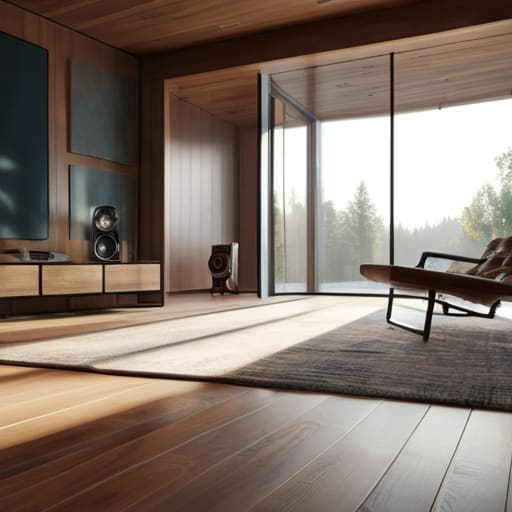
I remember sitting in a tiny, rented studio in Birmingham ten years ago, staring at a waveform that looked less like a voice and more like a jagged mountain range. I had spent three months’ savings on a high-end condenser mic, only to realize I’d placed it in a room with nothing but polished oak floors and bare walls. Every time my guest breathed, the sound bounced off the floor and slammed into the mic, creating a hollow, metallic ring that no amount of post-production magic could fix. If you are currently wondering how to record in a room with hard floors without spending a fortune on professional acoustic treatment, you’re likely realizing that expensive gear cannot fix a bad room.
I’m not here to sell you a $500 starter kit or a course on “sonic mindfulness.” I want to talk about what actually works when you’re stuck in a kitchen or a spare bedroom with zero budget. I’m going to show you how to use common household items to kill that bounce and get a dry, professional signal. We’re going to focus on practical, low-cost fixes—like where to throw your heavy blankets and why a cheap rug is more important than a new preamp.
Dampening Hard Surfaces Without a Massive Budget
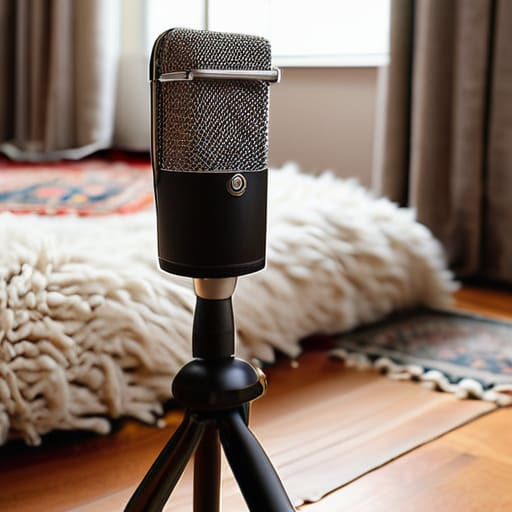
You don’t need to drop three grand on professional acoustic treatment for home studios just to get a usable signal. If you’re staring at a sea of laminate or tile, start with what you actually own. Throw down every heavy rug you can find—the thicker, the better. If you don’t have rugs, even a pile of laundry or a thick duvet draped over a chair behind the speaker will do more for reducing sound reflections than a cheap foam kit from an online marketplace. I’ve seen people spend hundreds on those egg-carton foam squares that do absolutely nothing for low-end frequencies; save your money and use mass instead.
If you’re really tight on space, focus on your immediate surroundings rather than the whole room. I often tell beginners to look into DIY acoustic panels using heavy moving blankets hung from a simple curtain rod. It’s not pretty, but it works. Also, pay attention to your microphone placement for reverb control; pulling the mic closer to the source and slightly off-axis can help you ignore the bounce coming off the floor, provided you aren’t recording in a complete vacuum.
Reducing Sound Reflections That Kill Your Professionalism
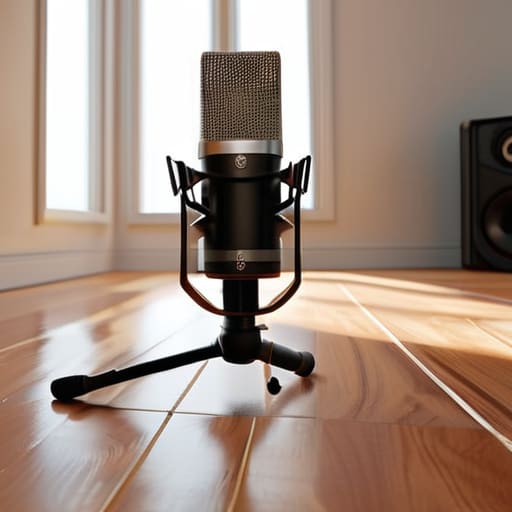
If you can’t get rid of the floor, you have to tackle the walls. Most people get obsessed with buying expensive gear, but they ignore the fact that sound waves are bouncing off every flat, hard surface in the room like pinballs. This is where the distinction between soundproofing vs acoustic treatment becomes vital; you aren’t trying to build a vacuum-sealed bunker, you’re just trying to stop the “slapback” echo. If you have bare drywall facing a bare floor, you’re essentially recording inside a tiled bathroom.
To fix this, focus on breaking up those flat planes. You don’t need professional-grade foam immediately; even hanging heavy moving blankets or thick curtains can do a lot of the heavy lifting for reducing sound reflections. If you’re feeling more ambitious, building some DIY acoustic panels using rockwool and wooden frames is a much better use of your money than buying a fancy new preamp. It’s about absorbing the energy before it has a chance to bounce back into the mic.
Five ways to stop your floor from ruining your take
- Get a thick rug under the desk and the chair. I’m talking high-pile, heavy wool, not that thin decorative stuff you see in lifestyle mags. If you can see the floorboards, you’re letting sound bounce straight up into the bottom of your mic.
- Angle your desk away from the most reflective wall. If your desk is parallel to a flat, hard wall, you’re creating a standing wave that makes your voice sound hollow. A little bit of geometry goes a long way in breaking up those reflections.
- Don’t ignore the “bounce” off your desk surface. If you have a wooden or glass desk, it’s basically a mirror for your voice. Throw a large, heavy desk mat or even a thick piece of felt down in front of you to catch the sound before it hits the wood and bounces back into the mic.
- Position your microphone closer to your mouth and turn the gain down. This is basic physics, but it works. If you’re closer to the source, you don’t need to crank the preamp, which means you aren’t boosting the ambient room noise and that annoying floor echo along with your voice.
- Use “soft” furniture as makeshift baffles. If you’re recording in a home office, pull that fabric armchair in from the living room and put it in the corner behind you. It’s not a professional acoustic panel, but a big, stuffed chair does a much better job of soaking up energy than a bare corner does.
The Bottom Line
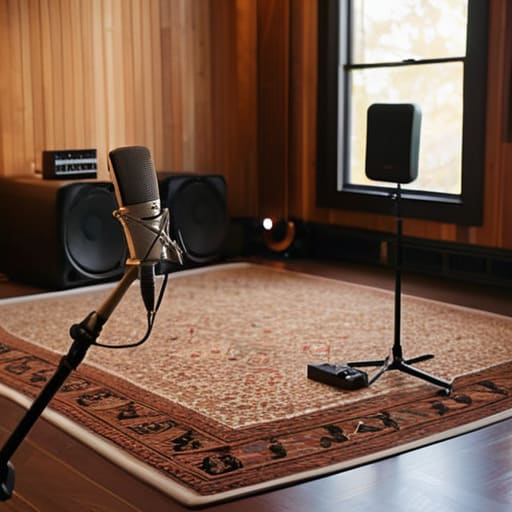
Don’t waste your money on expensive acoustic foam panels from a flashy website; a thick rug and some heavy curtains will do more to kill floor bounce and window reflections than cheap foam ever will.
If you can’t change the room, change your position—move the mic closer to the speaker’s mouth and away from the hard surfaces to improve your signal-to-noise ratio.
Always run a 30-second test recording and listen back with headphones before you start the actual interview; if the echo is there, it’s much easier to fix it now than it is to try and EQ it out in post-production.
## The Acoustic Reality Check
“You can spend three grand on a Shure SM7B, but if you’re sitting in a room with bare floorboards and high ceilings, you’re just capturing a very expensive-sounding echo. Stop looking at your gear list and start looking at your rugs; you can’t EQ your way out of a bad room.”
Nadine Okafor
The Bottom Line
Look, we’ve covered a lot of ground, from the heavy lifting of moving rugs into your space to the smaller, more surgical fixes like draping blankets over hard chairs. The takeaway is simple: you cannot out-edit a bad room. You can spend ten hours applying a de-reverb plugin in your DAW, but you’ll still be fighting a losing battle against a hollow, metallic sound that makes listeners want to turn the volume down. Focus on the physical reality of your space first—kill the floor bounce, break up the parallel walls, and get some soft mass between you and the hard surfaces. If you get the acoustics right at the source, you’ve already won half the battle before you even hit record.
At the end of the day, don’t let a lack of a professional studio stop you from starting. Most people wait until they have the perfect, soundproofed basement, but that’s how you end up with a podcast that never actually exists. Use what you have, fix the obvious flaws, and just start recording. Your listeners don’t need a pristine, sterile environment; they need a voice they can trust and a sound that doesn’t hurt their ears. The technical stuff is learnable, and the gear will eventually catch up to your ambition, but momentum is the one thing you can’t manufacture in post-production.