If you’ve spent any time on YouTube lately, you’ve probably seen a dozen “gurus” telling you that you need a $400 Shure SM7B and a soundproofed studio before you even hit record. It’s a lie designed to sell you gear you don’t need. The truth is, most of those people have never actually had to figure out how to run a podcast with no budget while sitting in a kitchen surrounded by the hum of a refrigerator. I spent my early years in Birmingham making magic out of whatever scrap audio I could scavenge, and I can tell you that a fancy microphone won’t save a bad idea or a room that sounds like a tiled bathroom.
I’m not here to sell you a masterclass or a subscription to a gear list. What I want to do is show you the unvarnished mechanics of making this work when your bank account is sitting at zero. I’ll talk about the specific software settings that actually matter, how to use your clothes wardrobe as makeshift acoustic treatment, and how to keep your sanity when your first ten episodes get ten downloads. This isn’t about being perfect; it’s about being functional.
Improvising Podcast Equipment When You Have Nothing to Sell
Stop looking at the “pro” gear lists on Amazon. You don’t need a $400 XLR microphone to find your voice, but you do need to understand physics. If you’re recording a podcast with a smartphone, stop holding it like a piece of toast. Prop it up on a stack of textbooks at mouth level, or better yet, shove it into a closet full of hanging clothes. The clothes act as a makeshift acoustic treatment, killing the flutter echo that makes a bedroom sound like a bathroom. It’s a crude DIY podcast studio setup, but a dry recording made on an iPhone is infinitely more listenable than a high-end mic recorded in a cavernous, echoing kitchen.
Once you’ve captured the raw files, don’t go hunting for expensive subscriptions. Download Audacity or GarageBand; they are genuinely the best free audio editing software available, and they won’t break your bank. Spend your time learning how to use a basic noise gate and a compressor rather than worrying about fancy plugins. The goal isn’t perfection; it’s clarity and consistency.
A Diy Podcast Studio Setup That Actually Works
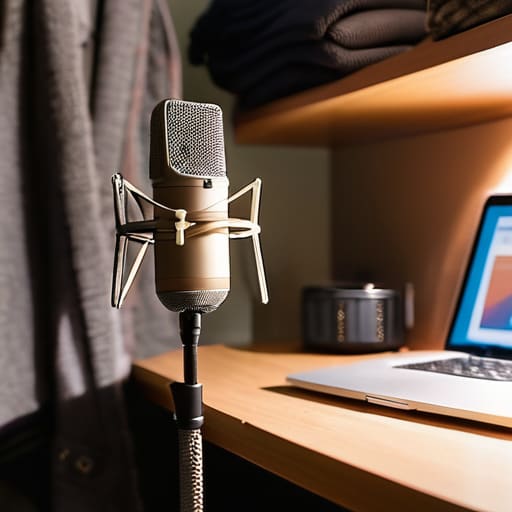
Stop looking at professional studio photos on Instagram; they’re lying to you. A real DIY podcast studio setup isn’t about acoustic foam panels or expensive diffusers; it’s about managing reflections. If you’re working from a bedroom, find the smallest space with the most “soft” surfaces. A walk-in closet full of hanging clothes is better than any $500 portable vocal booth you’ll find on Amazon. The fabric absorbs the high-frequency bounce that makes a recording sound thin and amateur. If you can’t do a closet, throw a heavy duvet over your head and the mic. It’s hot, it’s awkward, and it looks ridiculous, but it’s the fastest way to get a dry, professional sound.
When it comes to the actual capture, don’t underestimate the tech in your pocket. Recording podcast with a smartphone is perfectly viable if you know how to handle it. Don’t hold it like you’re taking a selfie; prop it up on a stable surface at mouth level, about six inches away, and use a thick sock as a makeshift pop filter to catch those harsh ‘P’ sounds. It’s not elegant, but it beats a cheap USB mic in a cavernous kitchen.
Five Ways to Stop Bleeding Time and Money
- Stop looking at gear reviews and start looking at your room. If you have a $500 microphone in a room with bare walls and hardwood floors, you will still sound like you are broadcasting from inside a tin can. Use what you have, but surround yourself with soft things—heavy curtains, a rug, or even a pile of laundry—to kill the slapback echo. It is better to have a clean recording on a cheap mic than a muddy mess on an expensive one.
- Learn the basics of a Digital Audio Workstation (DAW) now so you don’t have to pay someone later. Download Audacity or use GarageBand; they are free, they are stable, and they do 95% of what you actually need. Spend your time learning how to use a high-pass filter to cut out low-end rumble and how to apply a subtle compressor to even out your guest’s volume. If you can master those two things, you’re already ahead of most amateurs.
- Treat your guest’s environment as part of your production. If you are recording remotely, do not just send them a link and hope for the best. Tell them specifically: “Please wear headphones, please sit in a room with carpet, and please turn off your computer fans.” A single guest recording through a laptop mic in a tiled kitchen can ruin an entire hour of perfect interview.
- Build a workflow that relies on free distribution rather than paid promotion. Don’t waste a penny on social media ads; they won’t work for a show with no audience. Use a free hosting platform like Spotify for Podcasters or a similar low-barrier entry point, and spend that saved energy on finding the specific subreddits or niche forums where your actual listeners hang out.
- Accept the “Zero Listener” phase as a technical requirement. You will likely spend the first six months talking to a void. This isn’t a sign to quit; it’s your period of unpaid apprenticeship. Use this time to fail, to mess up your edits, and to find your voice without the pressure of an audience. By the time people actually show up, you’ll actually be ready for them.
The Reality Check: What Actually Matters When You’re Broke
Stop looking at gear lists; focus on your environment. A $500 microphone in a room with bare walls and a hum from a fridge is a waste of money, whereas a $50 dynamic mic in a closet full of coats will actually sound professional.
Your software shouldn’t cost a penny. Use Audacity or Reaper to learn the fundamentals of gain staging and noise reduction rather than paying for a monthly subscription to a tool that automates things you actually need to understand manually.
Expect the “zero listener” phase to last longer than you think. Having no budget means you can’t buy an audience through ads, so your only real currency is consistency and the discipline to keep editing even when the download numbers look like a rounding error.
## The Gear Trap
Stop looking at the $400 microphone ads on Instagram; they aren’t going to fix the fact that you’re recording in a kitchen with tiled walls. If you have zero budget, your job isn’t to buy better toys, it’s to learn how to manipulate the space you already have—pillows, blankets, and a quiet corner—until the audio doesn’t sound like it was captured inside a tin can.
Nadine Okafor
The Long Game
At the end of the day, running a podcast on a shoestring isn’t about finding a magic piece of gear that makes you sound like a BBC studio; it’s about managing the variables you actually can control. You’ve learned how to turn a closet full of coats into a decent vocal booth, how to use your smartphone as a decent field recorder, and how to stop your neighbor’s lawnmower from ruining a take. You don’t need a three-thousand-pound mixing desk to tell a story that matters. If you can master the basics of signal flow and learn how to clean up a noisy file in your editing software, you are already ahead of 90% of the people currently throwing money at problems they don’t understand. Focus on the clarity of the voice and the strength of the edit, because listeners will forgive a bit of grit, but they won’t forgive a host who can’t be heard.
Most importantly, prepare yourself for the silence. There will be a period—usually around month four or five—where the dopamine hit of a new download disappears and it feels like you’re just talking into a void. This is where most people quit, and it is exactly where the real craft begins. Don’t wait for a sponsorship deal to validate your work. Just keep recording, keep editing, and keep showing up. The goal isn’t to have the most expensive setup in the industry; the goal is to still be recording a year from now.