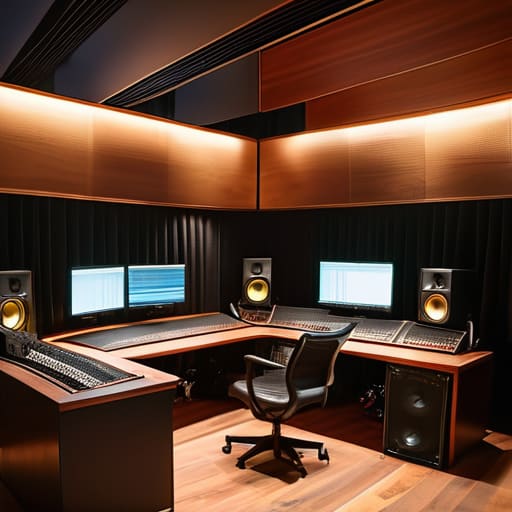
I remember sitting in my tiny Birmingham studio three years ago, staring at a waveform that looked less like a voice and more like a construction site because my neighbor had decided that 2:00 PM on a Tuesday was the perfect time to renovate his kitchen. I had a guest on the line who was a brilliant historian, but all I could hear was the rhythmic thud-thud-thud of a hammer through my drywall. That was the day I realized that knowing how to set up a second recording room isn’t about being a high-budget studio; it’s about survival. You don’t build a second space because you’ve suddenly become a mogul; you build it because you are tired of losing a week of editing time to a single noisy neighbor or a guest who can’t find a quiet corner in their own house.
In this guide, I’m skipping the expensive gear lists that people try to sell you in masterclasses. Instead, I’m going to walk you through the actual logistics: how to manage your acoustics on a budget, how to route your audio so you aren’t tripping over cables, and how to ensure your new space doesn’t just look good, but actually works when the pressure is on.
Guide Overview
Tools & Supplies
- Measuring tape for room dimensions and acoustic placement
- Power drill for mounting acoustic panels and hardware
- Level to ensure even panel installation
- Acoustic foam or rockwool panels (12-24 pack)
- Heavy-duty command strips or mounting brackets (1 pack)
- XLR cables for microphone connections (2-4 cables)
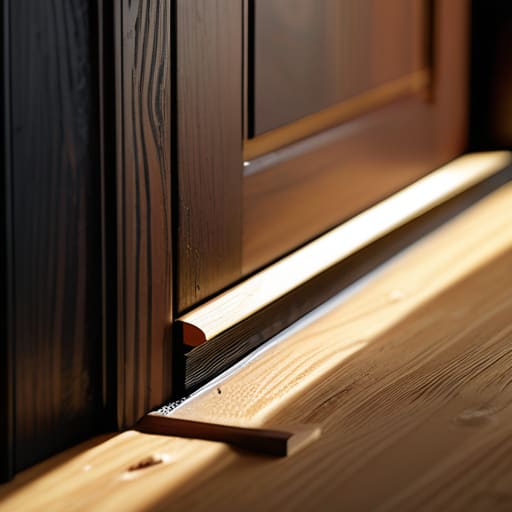
- Soundproofing door seal/sweep (1 set)
Step-by-Step Instructions
- 1. First, stop looking for a “studio” and start looking for dead space. You don’t need a room with acoustic foam panels and neon lights; you need a room that doesn’t echo like a cathedral. Find a space that is small, ideally with minimal windows, and check the floor. If it’s hardwood or tile, you’re already losing the battle. You want a room where you can stand in the center, clap your hands once, and not hear a single ring of reverb coming back at you.
- 2. Treat the walls like they are your enemy. Most people think they need to buy expensive acoustic treatment, but you can start by just killing the reflections. If you’re on a budget, heavy moving blankets hung on command hooks are your best friend. Don’t just hang them flat; bunch them up so they have folds. Those folds create more surface area to catch the sound waves before they bounce off the drywall and into your microphones.
- 3. Don’t overlook the floor. If your new room is a spare bedroom with bare floors, you need a thick rug. I’m talking high-pile, heavy-duty stuff, not a thin decorative mat. You want to dampen the sound of chairs scraping or feet shifting, which are the kind of tiny, annoying noises that become a nightmare to edit out three weeks later when you’re staring at a waveform at 2:00 AM.
- 4. Sort out your power and your noise floor. This is where most beginners trip up. Before you even plug in a mic, walk into the room and turn everything off. The fridge in the next room, the AC unit, the computer fan—if it hums, it’s a problem. You want a room where the “silence” is actually dead silent. If you have to run a dedicated circuit to avoid a ground loop buzz, do it. It’s better to spend the money now than to realize your entire recording is buried under a layer of electrical hum.
- 5. Set up your hardware with a “buffer” in mind. Don’t cram your desk into a corner where the sound will just bounce off two walls and hit the mic simultaneously. Position your recording station so you are facing the softest part of the room. If you have a bookshelf filled with books, use it; those uneven surfaces act as natural diffusers. I always tell people to test the levels with a dummy recording of just room tone for five minutes before you ever invite a guest in.
- 6. Finally, create a “fail-safe” lighting setup. I’m not talking about professional studio lights; I’m talking about visibility for your guest. If they can’t see your levels or your face because you’ve turned the room into a dark cave to stop the light from hitting the mics, the energy will suffer. Get a couple of cheap, warm LED lamps. You want the room to feel inviting, not clinical, because if a guest feels like they’re in a broom closet, it shows in their voice.
Soundproofing vs Acoustic Treatment Why Your Budget Might Lie to You
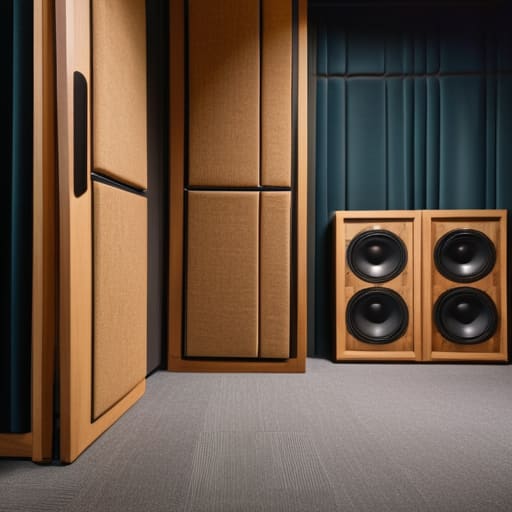
Here is the part where most people blow their entire budget on the wrong thing. You’ll walk into a shop, see a massive box of expensive foam, and think you’ve solved your problems. You haven’t. There is a massive, expensive difference between soundproofing vs acoustic treatment, and if you mix them up, you’re just throwing money at a wall. Soundproofing is about mass—thick walls, heavy doors, and sealing air gaps so the neighbor’s lawnmower doesn’t end up in your master track. Acoustic treatment is just about managing the reflections inside the room so your guest doesn’t sound like they’re recording inside a tiled bathroom.
If you’re setting up a second space, don’t go out and buy professional-grade isolation if you actually just need to stop the “slap” echo. For a secondary space, focus on acoustic treatment for secondary studios by using what you have: heavy curtains, bookshelves, or even a thick rug. My goal is always maintaining sonic consistency across rooms so your listeners don’t feel like they’ve been teleported to a different planet every time you switch setups. Spend your money on the seals and the mass first; the fluff comes later.
Maintaining Sonic Consistency Across Rooms Without Losing Your Mind
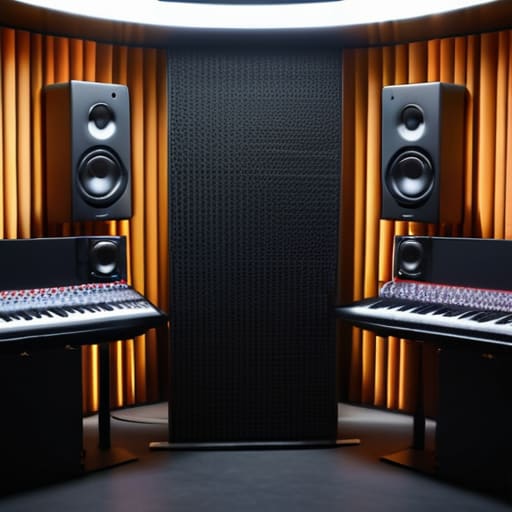
The biggest headache with adding a second space isn’t the construction; it’s the fact that your episodes will start sounding like they were recorded in two different universes. If Room A has heavy bass trapping and Room B is just a glorified closet with a rug, your listener is going to feel that shift in the frequency response immediately. You aren’t just building a new space; you’re trying to achieve maintaining sonic consistency across rooms so you don’t spend three hours in post-production trying to EQ out a boxy resonance that shouldn’t be there in the first place.
To avoid this, stop treating the second room as an afterthought. If you can’t afford a full suite of professional acoustic treatment for secondary studios, at least match the character of your primary space. If your main studio uses thick foam panels, don’t try to save money by using thin egg-carton stuff in the new room. It won’t work. My rule of thumb is to standardize your mic placement and gain stages across both setups. If you use a Shure SM7B in one room, use the same model in the other. It’s a small upfront cost that saves you from a massive headache during your studio workflow optimization.
Five things that will actually save your sanity (and your audio)
- Don’t buy a “podcasting kit” bundle for the second room. Most of those cheap USB mics are fine for a Zoom call, but if you want Room B to sound like Room A, you need the exact same transducer technology. If you use a Shure SM7B in your main studio, buy another one for the second room. It’s an extra few hundred quid, but it saves you ten hours of trying to match EQ curves in post-production.
- Map your cable runs before you move a single piece of furniture. There is nothing more soul-destroying than getting a guest settled, mic levels set, and then realizing your XLR cable isn’t long enough to reach the interface because you didn’t account for the desk height. Buy 10-foot cables, not 6-foot ones.
- Treat your power sources with suspicion. If your second room is in a converted spare bedroom or a basement, check if the lights are on a dimmer switch. Dimmer switches are the enemy of clean audio; they introduce a 50Hz hum that is a nightmare to notch out later. If you have to use dimmers, keep them turned up to full or get them replaced.
- Standardize your gain staging. I keep a physical notebook—not a digital one, a real one—where I write down the exact preamp gain settings for every mic in both rooms. If I walk into Room B and the levels are hitting -12dB instead of my usual -18dB, I know immediately something is wrong with the hardware or the routing.
- Invest in a dedicated, cheap monitoring setup for the second space. You don’t need high-end studio monitors in every room, but you do need a decent pair of closed-back headphones and a dedicated headphone amp. If you’re trying to monitor a guest through a laptop’s built-in jack, you’re going to miss the subtle mouth clicks and sibilance that ruin a good take.
The Reality Check
Don’t mistake “quiet” for “good.” You can have a room that’s dead silent because it’s in a basement, but if the walls are bare, your guests will sound like they’re broadcasting from inside a tiled bathroom. Focus on diffusion and absorption before you spend a penny on heavy-duty soundproofing.
Redundancy isn’t a luxury; it’s an insurance policy. You aren’t building a second space to scale your empire; you’re building it so that when your primary room becomes unusable due to construction next door or a broken HVAC system, your production schedule doesn’t grind to a halt for three weeks.
Consistency is your most expensive asset. If Room A has a warm, close-mic feel and Room B sounds thin and distant, your listeners will feel the jump in quality and tune out. Keep your mic heights, gain stages, and acoustic profiles as close to identical as your budget allows.
The Reality of Redundancy
You aren’t building a second room because you’ve suddenly become a high-end studio; you’re building it because you’re tired of your entire production schedule collapsing every time a guest flakes or a radiator starts knocking mid-sentence. Redundancy isn’t a luxury—it’s the only way to stop your workflow from being held hostage by a single bad room or a single bad day.
Nadine Okafor
The Bottom Line
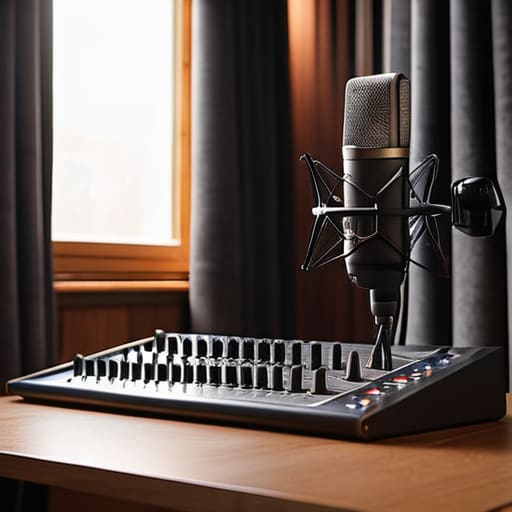
At the end of the day, setting up a second room isn’t about chasing studio perfection; it’s about building a buffer against chaos. You’ve learned that you don’t need to spend five grand on professional soundproofing when a few strategically placed acoustic panels and some heavy curtains can do the heavy lifting. You know that matching your mic chain and preamp settings across both spaces is the only way to avoid that jarring shift in tone that makes listeners reach for the volume knob. It’s a lot of logistics—managing two sets of cables, two different room reflections, and two different workflows—but it’s the difference between a show that feels like a hobby and one that functions like a reliable production.
Don’t let the technical hurdles or the sheer amount of gear make you feel like you aren’t ready. Most of the people you hear on the charts started with a single mic and a room that sounded like a tin can. The goal isn’t to have a flawless setup on day one; the goal is to build a system that survives the reality of a busy life. If you can manage the acoustics and keep your levels consistent, you’ve already cleared the biggest hurdle in the craft. Now, stop worrying about the gear and just get the recording done.