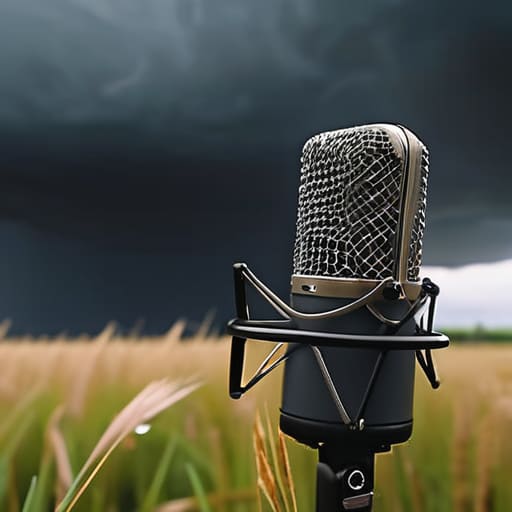
I once spent four hours in a damp field outside of Coventry, chasing a documentary lead, only to realize I’d brought a foam windscreen instead of a proper deadcat. Every time the breeze picked up, my waveform looked like a mountain range in a thunderstorm, and the interview was completely unsalvageable. You can spend thousands on the latest shotgun mic, but if you don’t understand the physics of air moving across a capsule, you’re just recording expensive noise. Most of the gear reviews you read online won’t tell you that learning how to record outdoors in wind is less about your budget and more about how much you’re willing to fight the elements with the right tools.
I’m not here to sell you a “pro-audio masterclass” or a list of overpriced gadgets you don’t need. I want to tell you what actually works when you’re standing in a gusty park and your guest is starting to lose patience. I’ll give you the specific setups, the exact types of wind protection that actually hold up, and the technical workarounds I use to keep the dialogue clean. This is about the unglamorous reality of getting a usable take when the weather refuses to cooperate.
The Deadcat Windscreen vs Foam Debate Choosing Your Armor
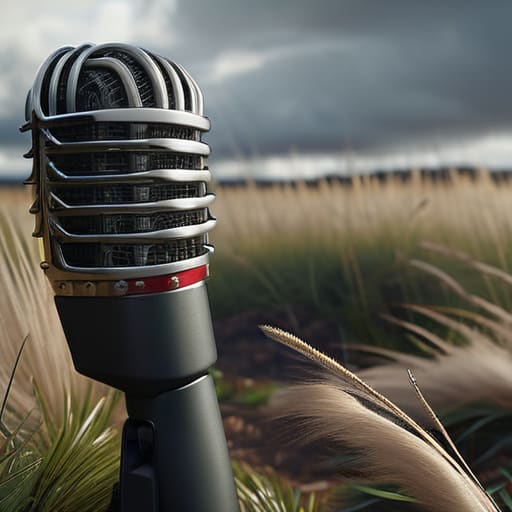
If you’re walking into a session thinking a standard foam pop filter is going to save you, stop right there. Foam is fine for a controlled studio environment where you’re just trying to catch a stray “P” pop, but the moment a real breeze hits, it’s useless. In a field recording scenario, foam just acts like a sail; it absorbs some high end but does absolutely nothing to stop the air from hitting the diaphragm. You’ll end up with a recording dominated by a thick, muddy mess of low frequency wind rumble removal that no amount of EQ in post-production can truly fix without making your subject sound like they’re underwater.
When you’re weighing the deadcat windscreen vs foam debate, the answer is almost always the fur. A proper synthetic fur windscreen—the kind people call a “deadcat”—works by breaking up the wind’s energy before it even touches the mic capsule. It creates a chaotic micro-environment of still air around the sensor. If you are using professional wind protection for shotgun microphones, you need that physical barrier. Don’t skimp here; a cheap, thin windscreen is just as bad as having no protection at all.
Finding the Best Microphones for Outdoor Recording Without Losing Your Mind
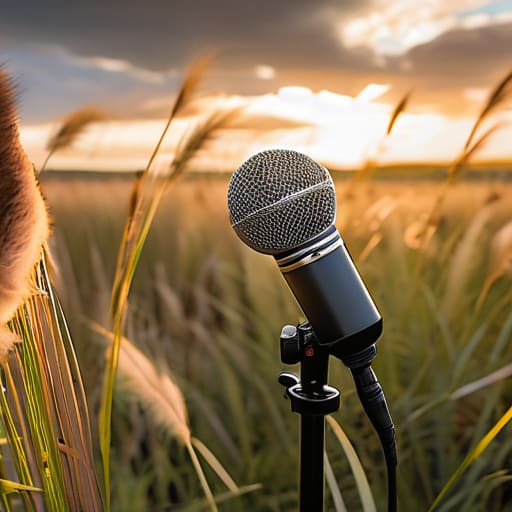
Don’t get seduced by the “pro” gear lists you see on YouTube. When you’re out in the elements, the best microphones for outdoor recording aren’t necessarily the ones with the most expensive capsules; they are the ones that don’t turn into a percussion instrument the moment a breeze picks up. If you are using a shotgun mic, you need to be aggressive about your setup. I’ve spent way too many afternoons staring at a waveform that looks like a solid block of blue because I didn’t have enough wind protection for shotgun microphones. A standard foam cover is useless once the wind hits more than a walking pace; you need physical mass to break that air up before it hits the diaphragm.
I usually lean toward dynamic mics for field work if I can get the subject close enough. They have a natural rejection for off-axis noise that condensers just can’t match. If you absolutely must use a condenser for that crispness, you better have a heavy-duty blimp. Trying to fix low frequency wind rumble removal in post-production is a losing battle; you can’t EQ away a sound that has already physically clipped your preamp. Fix it at the source, or don’t bother hitting record.
Five ways to stop the wind from trashing your take
- Stop treating your mic like a piece of fine china. If you’re in a gusty spot, you need to physically shield the recording setup. I usually find a heavy backpack, a stone wall, or even my own body to act as a secondary windbreak. It’s not about being elegant; it’s about creating a pocket of dead air around the capsule so the windscreen actually has a chance to do its job.
- Watch your gain levels like a hawk. In a studio, you set your levels and forget them, but outdoors, a sudden gust can spike your signal instantly. I keep my input gain lower than I think I need it—aiming for peaks around -12dB rather than pushing toward 0dB. You can always bring the volume up in post, but you can’t fix a digital clip caused by a rogue breeze.
- Check your cables and mounting. Wind doesn’t just hit the mic; it hits the stand. If you’re using a lightweight tripod on a sidewalk, a decent gust is going to turn your setup into a pendulum. Use sandbags, or if you’re in a pinch, your own gear bag, to weigh down the base. A microphonic “thump” from a vibrating stand is just as hard to edit out as wind noise.
- Use a monitor with headphones, always. You cannot trust your eyes or your “gut feeling” when you’re outside. I keep my headphones on even when I’m just checking the room, because what sounds fine from three feet away might actually be a low-frequency rumble that’s going to make the dialogue unlistenable. If you hear the wind hitting the diaphragm, stop and adjust immediately.
- Record “room tone” for at least sixty seconds. Even if you think you’ve found a quiet spot, the wind is never truly silent. Capture a minute of just the ambient environment—without anyone talking. When you’re in the edit and you need to bridge a gap or clean up a cut, having that specific outdoor “silence” to layer under your tracks is the difference between a professional cut and a jumpy, amateur mess.
The bottom line on outdoor audio
Stop relying on foam covers; if there is even a slight breeze, you need a high-quality synthetic fur windscreen (a deadcat) or you’re just recording noise.
Prioritize directional microphones like shotguns or cardioid patterns to reject ambient sound, but remember that no mic can magically delete a gust of wind hitting the capsule.
Always do a “silent” test recording for 30 seconds before you start the actual interview to check the floor noise and wind levels in that specific spot.
The cost of being cheap
You can spend three grand on a Schoeps microphone, but if you’re trying to track a field interview with nothing but a thin piece of open-cell foam, you’ve just bought yourself a very expensive way to record nothing but white noise. Wind doesn’t care about your budget; it only cares about surface area.
Nadine Okafor
Don't let the weather win
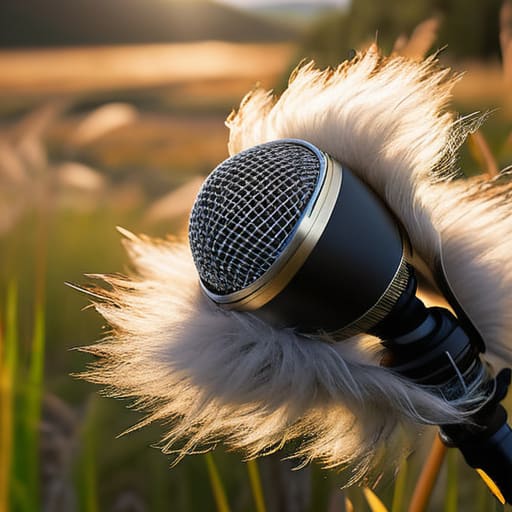
At the end of the day, recording outdoors is a constant negotiation with physics. You’ve got your choice of microphones—hopefully something with a decent polar pattern that won’t turn every breeze into a thunderclap—and you’ve hopefully invested in a proper deadcat rather than relying on a bit of cheap foam that does nothing against a real gust. Remember that your setup is only as good as your awareness of the environment. If the wind starts buffeting the diaphragm, stop the take, adjust your positioning, or wait for a lull. You can try to fix a lot of things in post-production with EQ and noise reduction, but if the signal is clipped or completely obliterated by wind noise, you aren’t editing a podcast; you’re performing an autopsy on a dead recording.
It’s easy to get frustrated when you spend three hours setting up a location only for a sudden gust to ruin your best interview. I’ve been there, standing in a field in the Midlands, feeling like the universe is actively trying to sabotage my production schedule. But don’t let the technical hurdles make you retreat back into the safety of a padded studio forever. The most authentic, textured stories often happen when you step outside the controlled environment. The wind is just another variable to manage, not a reason to stop recording. Get your gear, check your wind protection, and just go.