I still remember the smell of ozone and burnt plastic from a studio in Soho back in the late nineties, right before a $400 XLR cable gave up the ghost mid-interview. It wasn’t because the cable was “low quality”; it was because some bright spark had wrapped it around a chair leg like a piece of twine. Most of the gear tutorials you’ll find online will try to sell you on expensive, branded Velcro wraps or custom-molded storage cases that cost more than your microphone. But if you want to learn how to store cables so they survive the actual, messy reality of a working production, you don’t need a boutique organizer; you need to understand physics and friction.
I’m not here to sell you a subscription to a “productivity masterclass” or a fancy new piece of kit. I’m going to tell you exactly how I manage my own kit so I don’t end up staring at a dead signal in the middle of a recording session. We’re going to talk about the over-under technique, why your current coiling method is actively killing your copper, and the cheap, tactile ways to keep your workspace from turning into a bird’s nest. This is the unglamorous, practical side of gear maintenance that actually keeps a show on the air.
Preventing Cable Fraying Before Your Gear Fails You
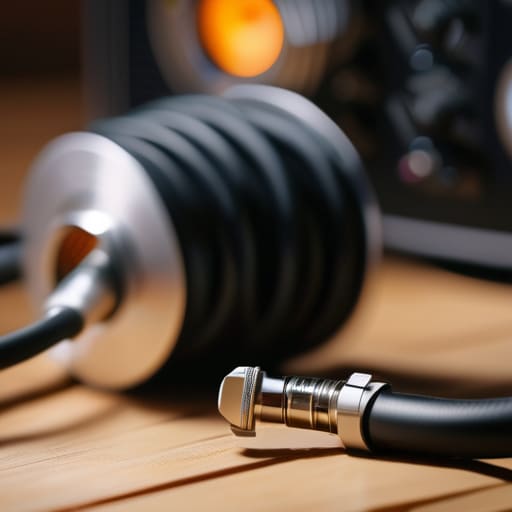
If you’re still wrapping your XLRs around your elbow like a tight coil of rope, stop. I spent my first year in Birmingham doing exactly that, and I ended up with a handful of expensive, dead cables that wouldn’t hold a signal for more than ten minutes. Every time you do that, you’re putting immense tension on the solder joints inside the connector. You aren’t just “storing” them; you’re essentially strangling the copper.
The only way to actually succeed at preventing cable fraying is to learn the over-under method. It feels awkward at first—your hands will feel clumsy and you’ll feel like you’re doing it wrong—but it neutralizes the tension. By using these proper wire coiling techniques, you ensure the cable lays flat and stays relaxed. If you treat your cables like they’re fragile, they actually will be. If you treat them like they’re indestructible, you’ll be buying replacements every single month. It’s not about being fancy; it’s about making sure your gear doesn’t quit on you mid-interview.
Proper Wire Coiling Techniques That Actually Work
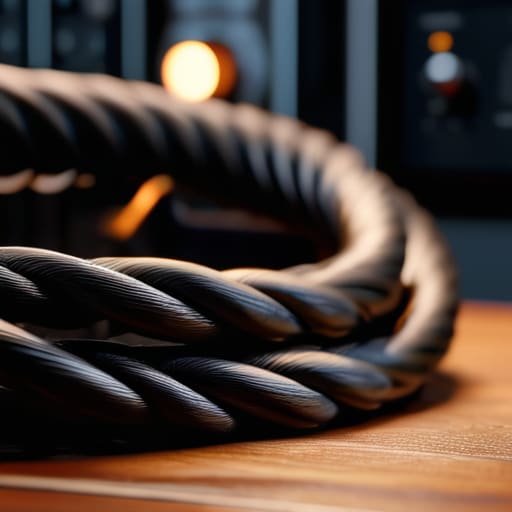
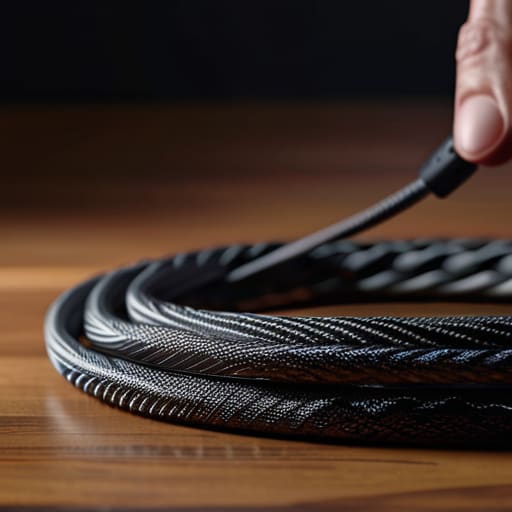
Stop using the “over-under” method if you’re just going to wrap them around your elbow like a frantic intern. I see it all the time in studios: people looping a cable around their arm and pulling it tight, which creates a permanent twist in the copper. That’s the fastest way to ensure you’re dealing with intermittent signal drops mid-recording. If you want to actually practice proper wire coiling techniques, you need to learn the over-under wrap. It looks tedious for the first ten minutes, but it ensures the cable lays flat and maintains its natural memory without any tension building up inside the jacket.
When you’re handling your more expensive runs, like a high-end Mogami or a heavy-duty Neutrik-ended line, the goal is avoiding internal wire damage at all costs. Don’t just throw them into a bin. Coil them into loose loops about the size of a dinner plate and secure them with Velcro ties—not those cheap plastic zip ties that bite into the rubber. If you treat your XLRs with a bit of respect now, you won’t be hunting for a replacement cable in the middle of a remote session next month.
Five ways to stop treating your cables like junk
- Stop using zip ties. I know they’re cheap and they look tidy in a bin, but they are death for your XLRs. They bite into the jacket and create micro-fractures in the copper. Use Velcro wraps instead—the wide, reusable kind. They keep the loop secure without strangling the life out of the wire.
- Get a dedicated storage bin that isn’t a cardboard box from a grocery store. I use heavy-duty plastic bins with lids. If you just toss your coiled cables into a pile, they’ll tangle into a “cable nest” that takes twenty minutes to untangle every time you need to set up. You don’t want to be fighting a knot while your guest is sitting there waiting.
- Label the ends, not just the middle. I use small pieces of colored electrical tape or dedicated cable tags at both ends of the run. When you’re digging through a dark equipment bag, you don’t want to be playing “guess the connector” with a five-meter snake. Knowing exactly which end is male and which is female before you pull it out saves you a massive headache.
- Watch your temperature. If you’re storing your gear in a damp basement or a hot van, you’re asking for trouble. Heat makes the plastic jackets brittle, and moisture is the enemy of every connector you own. Keep your cable stash in a climate-controlled space—the same place you keep your mics and your interface.
- The “Stress Test” check. Every time you pack a cable away, give it a quick, gentle tug near the connector. If it feels limp or if you hear a crackle when you wiggle the boot, that cable is already dying. Don’t put it back in the “good” bin; put it in a separate “repair or scrap” pile so it doesn’t fail you in the middle of a recording session.
The bottom line on keeping your lines alive
Stop the “over-under” debate if it’s confusing you, but learn it anyway; if you’re just wrapping cables around your elbow like a garden hose, you’re twisting the copper inside and you’ll be buying replacements by next season.
Treat your cables like they’re part of the signal path, not just junk in a bin; store them loose enough that they aren’t under tension, and for heaven’s sake, stop throwing them into a heavy gear bag without any individual velcro ties.
Invest in a decent quality of cable from the start—XLRs with solid strain relief—because it’s much cheaper to buy one good cable that lasts five years than it is to replace a cheap one every time a guest moves their chair too aggressively.
The cost of a bad habit
You can spend five grand on a Neumann mic and a high-end interface, but if you keep wrapping your XLR cables around your elbow like a garden hose, you’re just buying expensive junk that’s going to fail you in the middle of a remote session.
Nadine Okafor
The bottom line on your gear
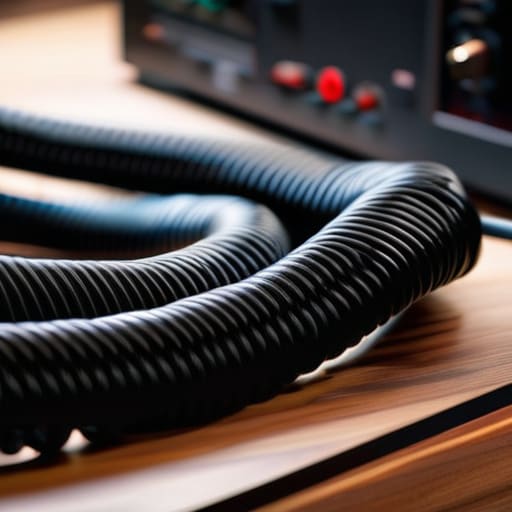
At the end of the day, cable management isn’t about having a studio that looks like a Pinterest board; it’s about ensuring that when you sit down to edit a high-stakes documentary at 2:00 AM, your XLR cables actually carry a signal. If you’ve been treating your wires like tangled spaghetti or, worse, wrapping them tight around your elbows, you’re essentially scheduling a future crisis. Stick to the over-under method, stop letting your cables sit in a heap on the floor where they get stepped on, and for heaven’s sake, invest in decent Velcro ties instead of those cheap plastic twist-ties that snap after three uses. It’s a small amount of friction now that prevents a massive headache later.
I know it feels like a massive waste of time when you just want to get to the creative part—the interviewing, the storytelling, the actual magic of audio. But the truth is, the craft is built on these tiny, unglamorous habits. You can have the most profound guest in the world, but if your connection drops because of a frayed wire, the story dies right there. Treat your gear with a bit of respect, and it will show up for you when it matters most. The technical stuff is learnable, and once you get these basics down, you can stop worrying about your kit and start focusing on the sound.