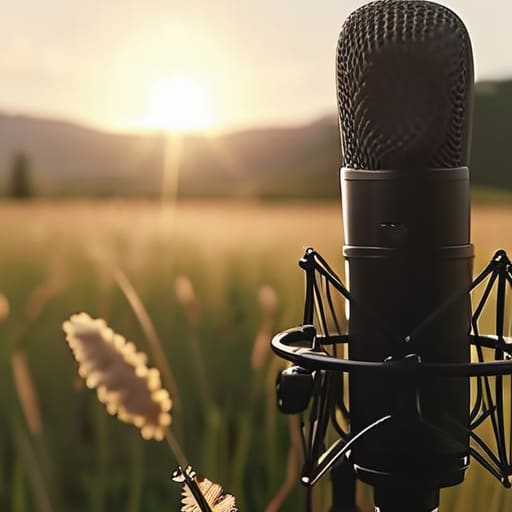
I remember sitting in a cramped, drafty studio in Birmingham back in the late nineties, staring at a waveform that looked less like a human voice and more like a mountain range during a thunderstorm. I had spent a week’s wages on a decent condenser mic, only to realize that every time my guest breathed or shifted in their chair, the audio spiked into a distorted mess. I spent four hours that night trying to fix it in post, only to realize that no amount of EQ can save you from bad physics. If you’re currently obsessing over which high-end preamp to buy but haven’t figured out how to use a windscreen correctly, you are essentially buying a Ferrari to drive through a swamp.
I’m not here to sell you a “masterclass” or a list of overpriced gear. I’ve spent two decades in the trenches of audio production, and I know that the difference between a professional sounding episode and a noisy disaster usually comes down to a bit of foam and some basic technique. I’m going to show you the actual mechanics of managing air movement and plosives, so you can stop wasting your time fixing mistakes in the edit that should have been prevented in the room.
Deadcat vs Foam Windscreen Choosing Your Battle
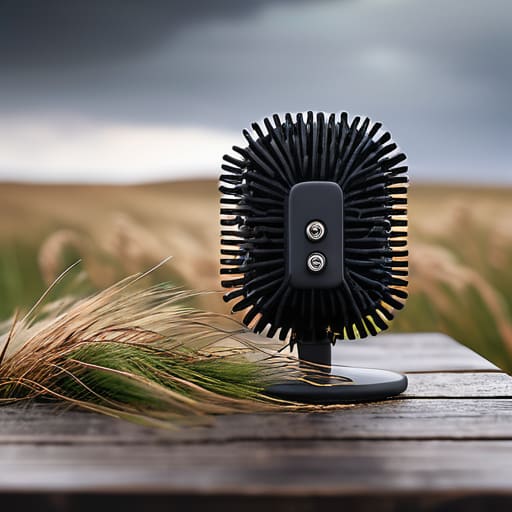
If you show up to a field recording thinking a bit of sponge will save you, you’re going to have a very bad time. Foam is fine for a controlled environment where the only “wind” is someone breathing too heavily near the capsule, or perhaps for basic lavalier microphone wind protection inside a quiet studio. It’s lightweight and doesn’t look as ridiculous, but it has almost zero ability to break up actual moving air. If there’s even a slight breeze, that foam is just going to turn your audio into a muddy, low-end mess.
When you’re actually out in the elements, you need a “deadcat.” These furry, synthetic covers are designed to disrupt the air before it ever hits the diaphragm. In the debate of deadcat vs foam windscreen, the choice is usually dictated by your location. If you are doing any serious outdoor work, the faux fur is non-negotiable. It might look a bit absurd strapped to your kit, but I’d much rather look silly than spend four hours in post-production trying to EQ out a gust of wind that ruined a perfect take.
Improving Audio Clarity in Windy Conditions Without Panicking

When the wind picks up mid-interview, your first instinct will be to freeze and stare at the waveform like it’s a ticking bomb. Don’t. If you’re out in the field and the gusts start hitting, the first thing you do is check your physical setup. If you’re using a lavalier, make sure that little foam pop filter hasn’t slipped or become bunched up under a lapel; even a slight misalignment can turn a breeze into a rhythmic thumping. Reducing wind noise in outdoor recording is often less about high-end gear and more about how much surface area you’re exposing to the air.
If the wind is truly relentless, you might need to change your physical position rather than just your settings. Move the subject behind a natural windbreak—a wall, a thick hedge, or even just the lee side of a vehicle. It’s not cheating; it’s field recording audio tips that actually work when the weather turns. If you’ve already captured a clip that’s mostly low-end rumble, don’t waste an hour trying to EQ it back to life. You can’t fix a blown capsule with a plugin. You either shield the mic better next time, or you accept that the take is a loss and move on.
Five Ways to Stop Your Audio from Sounding Like a Storm
- Don’t let the foam sit loosely. If you’re using a standard foam pop filter, make sure it’s seated firmly on the capsule. If there’s a gap between the foam and the mic head, air will find that gap, and you’ll still get those low-end thumps every time your guest breathes heavily.
- Test the “Plosive Threshold.” Before you hit record on a guest, have them say a string of words starting with P, B, and T. If you can hear the air hitting the diaphragm even with the windscreen on, you need a thicker foam or a different angle. It’s better to find this out in the first thirty seconds than halfway through a twenty-minute interview.
- Watch the distance. A windscreen adds a physical layer between the mouth and the mic, which can subtly change the proximity effect. If you’re using a heavy deadcat, you might find you need to move the mic about two inches closer to the speaker to maintain that same warm, intimate presence you were aiming for.
- Check for “muffled” syndrome. There is a fine line between removing wind noise and making your guest sound like they’re talking through a duvet. If the high-end frequencies (the 5kHz to 8kHz range) disappear entirely once the windscreen is on, your foam is too dense or too thick for that specific microphone.
- Keep a spare in your bag. I’ve seen more sessions ruined by a piece of foam that tore or a deadcat that got soaked in rain than by actual technical failure. If you’re recording outdoors, your windscreen is a consumable; treat it like one.
The Bottom Line
Stop treating foam covers like a universal fix; they work for a heavy breath in a quiet studio, but the moment you step outside, you need a deadcat or you’re just recording a muffled mess.
If you’re recording outdoors, don’t fight the wind with EQ settings in post—you can’t polish out a gust that’s already clipped your preamp. Fix the physics in the room (or the field) before you hit record.
Gear matters, but placement matters more. A cheap mic with a properly fitted windscreen will beat a $1,000 condenser mic with no protection every single time.
The Cost of Skipping the Basics
I’ve sat through countless hours of editing where I’ve had to manually ride the gain down just to mask the rhythmic ‘thwack’ of a plosive hitting a bare capsule. You can spend three grand on a Neumann, but if you aren’t using a windscreen to manage your actual breath and the air in the room, you’re just documenting your own technical negligence in high definition.
Nadine Okafor
The Reality of the Result
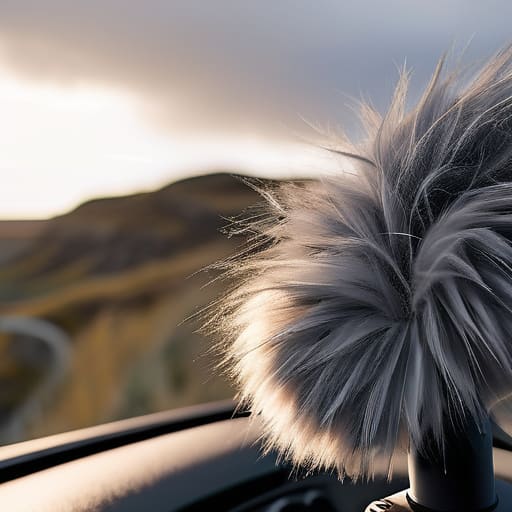
At the end of the day, there is no magic setting that fixes a recording ruined by air turbulence. If you are in a controlled studio, a simple piece of foam is usually enough to catch those stray plosives and breath hits. But if you are out in the world, you need to embrace the deadcat and accept that it might look a bit ridiculous. Don’t let the gear dictate your comfort; if the wind is gusting at 15mph, you aren’t just “managing” the noise, you are actively fighting it with the right tools. Remember, the goal isn’t to make the recording sound like it was done in a vacuum, but to ensure the listener isn’t scrubbing through the audio just to hear what your guest is actually saying.
I spent my first year in this business thinking that high-end equipment would compensate for poor preparation. It doesn’t. You can own every piece of kit on the market, but if you neglect the basics like wind protection, you’re just wasting your time and your listeners’ patience. Podcasting is a game of attrition, and most people quit because they get tired of fighting preventable technical headaches. Get the windscreen right, learn the physics of your environment, and then get on with the storytelling. The craft is in the details, but the purpose is the voice.