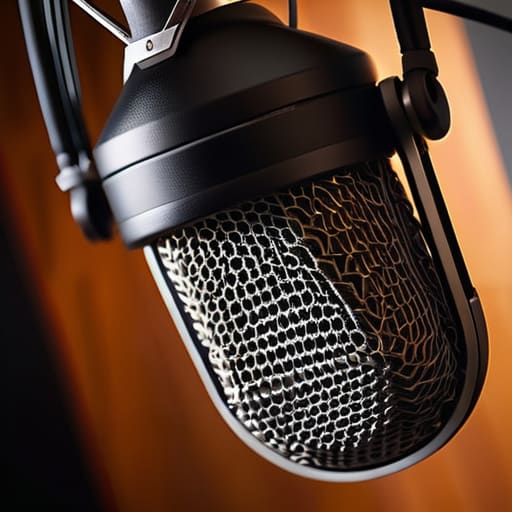
I remember sitting in a cramped, drafty studio in Birmingham fifteen years ago, staring at a waveform that looked less like a human voice and more like a seismic reading from an earthquake. I had spent three hours recording a brilliant interview, only to realize in post-production that every time the guest shifted their weight or a heavy lorry drove past the building, my audio spiked with a low-end thump that no amount of EQ could fix. I wasted a whole day trying to figure out how to pick a shock mount that wouldn’t just look good on a desk, but would actually do the job of isolating that mechanical noise.
I’m not here to sell you on some boutique, gold-plated suspension system that costs more than your first mortgage. Most of the gear guides out there are written by people who have never actually had to salvage a ruined take at 2:00 AM. Instead, I’m going to give you the actual, unglamorous criteria you need to look at: elastic tension, mounting compatibility, and whether the thing actually stays stable when you move. I’ll tell you exactly what to look for so you can stop wasting time in the edit and start focusing on the story.
Why Your Studio Recording Equipment Setup Is Failing You
The problem usually isn’t that your microphone is bad; it’s that your studio recording equipment setup is treating your desk like a percussion instrument. I’ve sat through hours of interviews where the listener’s immersion is shattered not by a bad guest, but by the low-frequency thud of a coffee mug being placed on the table or a heavy truck passing outside. If you aren’t using a dedicated shock mount, those mechanical vibrations travel straight up the stand and into your capsule, turning a clean vocal into a muddy mess that no amount of EQ can truly fix.
Most beginners think they can solve this with software, but you can’t de-reverb or de-thump a signal that was captured poorly at the source. You need actual microphone vibration reduction through a decent elastic suspension system. If you’re using a sensitive condenser, you’re essentially building a high-fidelity ear that hears every footstep in the hallway. Without proper mounting, you aren’t recording a podcast; you’re recording the structural integrity of your building.
The Truth About Elastic Suspension Systems and Real Isolation
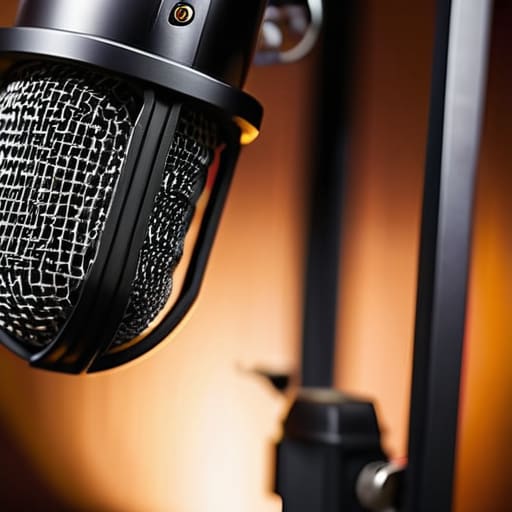
Most people look at a shock mount and see a collection of rubber bands and plastic. They think they’re buying a piece of tech, but what you’re actually buying is a mechanical filter. These elastic suspension systems aren’t magic; they are designed to decouple the capsule from the physical world. If you’re recording on a desk—and let’s be honest, most of us are—every time you shift your weight or tap a pen, that kinetic energy travels straight up the stand and into your signal. A decent mount uses tension to absorb that energy before it hits the diaphragm.
The mistake I see constantly is people thinking a shock mount is a substitute for actual acoustic noise isolation. It isn’t. A mount will stop a desk thump or a heavy footfall from ruining a take, but it won’t do a damn thing about the hum of your refrigerator or the traffic outside your window. You need to understand that these are condenser microphone accessories meant for specific mechanical vibrations, not for fixing a room that sounds like a tiled bathroom. Don’t expect a bit of elastic to fix a bad environment.
Five Things to Check Before You Click 'Buy'
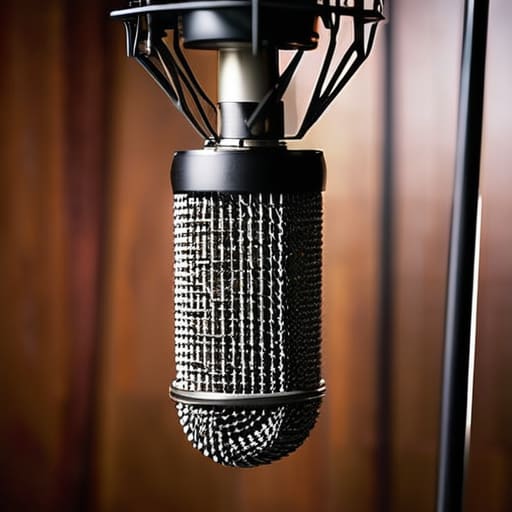
- Check the diameter of your mic first. I’ve seen too many beginners buy a high-end mount only to realize their condenser mic is half an inch too wide for the cradle. It’s a waste of forty quid and a week of waiting for a return.
- Look at the mounting thread, not just the brand. You need to know if you’re dealing with a standard 5/8-inch screw or something more niche. If your mic uses a specific proprietary mount, a generic shock mount is just a heavy paperweight.
- Test the elasticity of the bands if you can. You want tension that is firm enough to dampen a heavy desk thump but not so tight that it creates a mechanical “ping” every time you move your chair. If the bands look like thin rubber bands, walk away.
- Consider your desk surface. If you’re recording on a hollow IKEA desk, a cheap mount with thin elastic won’t do a thing. You need a mount with enough mass and high-quality suspension to handle the low-frequency rumble of a passing truck or a heavy footstep.
- Don’t ignore the weight of the microphone. If you’re using a heavy broadcast mic like a Shure SM7B, a lightweight, flimsy mount will sag over time, tilting your mic downward and ruining your aim. Match the load capacity to the actual weight of the gear.
The Bottom Line on Not Wasting Your Money
Stop reading spec sheets for “ultra-sensitive” elastic; if you’re recording on a desk that vibrates every time a delivery driver walks past, you need mass and stability, not just a fancy brand name.
A shock mount isn’t a magic fix for a bad room, but it is the cheapest way to stop a single heavy footstep from turning a twenty-minute interview into a nightmare of post-production cleaning.
Buy for your specific environment—if you’re recording in a bedroom, prioritize a mount that handles desk thumps; if you’re on the move, prioritize something that won’t snap when you toss it in a bag.
Stop Buying for the Spec Sheet
Forget the marketing jargon about “precision-engineered tension”; you just need to find the one that actually kills the vibration from your radiator or the heavy-footed neighbor before that low-end rumble makes your entire edit a nightmare.
Nadine Okafor
Stop Overthinking the Gear
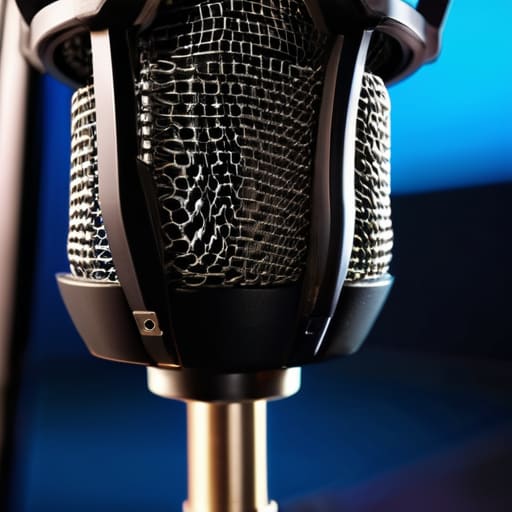
At the end of the day, picking a shock mount isn’t about finding the one with the most expensive-looking springs or the most technical jargon on the box. It’s about matching the mechanical isolation to your specific environment. If you’re recording in a quiet, treated room on a heavy tripod, a basic elastic mount will do fine. But if you’re working on a desk that vibrates every time a delivery driver hits a pothole outside, you need a high-quality, multi-point suspension system that actually does its job. Don’t waste your budget on a high-end mount if your microphone is the wrong type for your space, and don’t settle for a cheap plastic clip that lets every single desk thump bleed into your waveform. Get the right tool for the specific noise you’re fighting.
I know it feels like you need a perfect, sterile studio to make something worth hearing, but that’s a lie. Most of the best podcasts I’ve produced were recorded in bedrooms, kitchens, or borrowed offices. The gear is just there to protect the integrity of the voice. Once you’ve sorted out the mechanical basics and stopped the low-end rumble from ruining your takes, the real work begins. You stop worrying about the hardware and start focusing on the person speaking into the mic. Get your setup stable, get your levels right, and then get out of your own way.