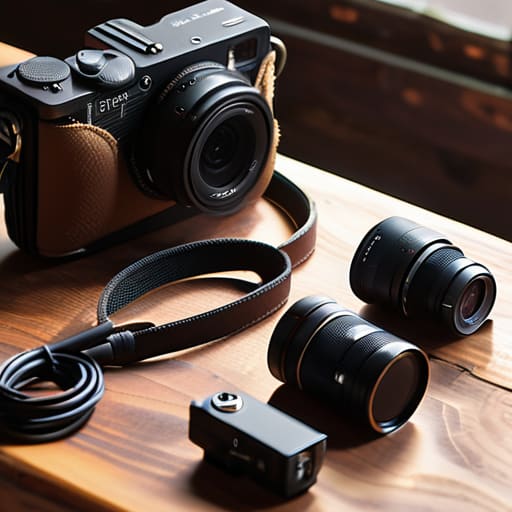
I was standing in a humid terminal in Nairobi, clutching a heavy, overpriced condenser mic that was never meant to see the inside of a suitcase, watching my guest’s expression fade as my battery indicator blinked a frantic, dying red. It was a total disaster. Most of the gear lists you find online will tell you that more is better, but if you want to learn how to build a travel recording kit that actually works, you need to stop thinking about studio perfection and start thinking about survivability. A kit isn’t a collection of expensive toys; it’s a tactical setup designed to handle wind, bad acoustics, and the inevitable moment your power source fails you.
I’m not here to sell you a dream of seamless, cinematic soundscapes. I’m here to tell you which cables will fray after two weeks in a backpack and why you should probably skip that fancy shock mount for something more compact. In this guide, I’m going to break down the exact, no-nonsense essentials you need to capture clean audio in the real world. We’ll cover weight distribution, redundant power solutions, and the specific pieces of kit that have actually survived my last five years of field work.
Guide Overview
Tools & Supplies
- Screwdriver (for securing mounts if necessary)
- Smartphone (primary recording device)
- Small hard-shell carrying case (1 unit)
- Universal tripod or GorillaPod style mount (1 unit)
- External clip-on microphone (1 unit)
- Portable power bank (1 unit)
- Microfiber cleaning cloths (2 units)
- Cable organizer ties (1 pack)
Step-by-Step Instructions
- 1. Start with your recorder, but don’t get seduced by the “pro” specs. You need something with dual SD card slots for redundancy. If you’re recording a once-in-a-lifetime interview in a busy market in Marrakech and your single card corrupts, you haven’t just lost an episode; you’ve lost the whole trip. I usually lean toward a Zoom H5 or H6 because they are workhorses, but whatever you pick, make sure it can handle stereo recording without needing a laptop to act as its babysitter.
- 2. Pick one microphone and one only. I see too many beginners lugging around a heavy condenser mic that requires a phantom power supply and a prayer to work in a noisy environment. For travel, you want a dynamic cardioid microphone. It’s much better at ignoring the bus engine idling behind your guest than a sensitive condenser will be. A Shure SM58 is a cliché for a reason—it’s nearly impossible to break and it sounds exactly the same in a hotel room as it does in a cafe.
- 3. Get a decent pair of closed-back headphones. This isn’t about how the music sounds; it’s about monitoring your input levels in real-time. If you’re using cheap earbuds, you won’t hear the subtle hum of an air conditioner or the clipping caused by a guest who decides to suddenly shout. I use the Sony MDR-7506s because they are industry standard, they fold down small, and they let me hear the ugly truths of a recording before I hit stop.
- 4. Don’t skimp on the cables, but keep them minimal. You need one XLR cable that is long enough to let your guest sit comfortably away from the mic, but not so long that it becomes a tripping hazard in a cramped space. I always wrap mine in Velcro ties. If you’re using a mobile setup, make sure you have a dedicated 3.5mm to XLR adapter if your recorder requires it, and test the connection at home before you ever leave the house.
- 5. Pack a “survival kit” of small essentials that people always forget until they’re halfway through a shoot. This means a fresh pack of AA batteries (even if your gear is rechargeable, because batteries fail when it gets cold), a spare SD card, and a small windjammer or “deadcat” for your mic. If you’re recording outdoors, a mic without a windscreen is just a very expensive way to record wind noise instead of human voices.
- 6. Build a dedicated power strategy. If you are relying on your phone or a laptop to power your gear, you are asking for a disaster. Get a high-capacity power bank that can output enough voltage to charge your recorder directly. I’ve spent many a long afternoon in an airport lounge staring at a dead recorder because I thought my laptop would “just handle it.” It won’t. Plan for the worst and you’ll actually get the work done.
The Compact Microphone for Travel That Actually Works
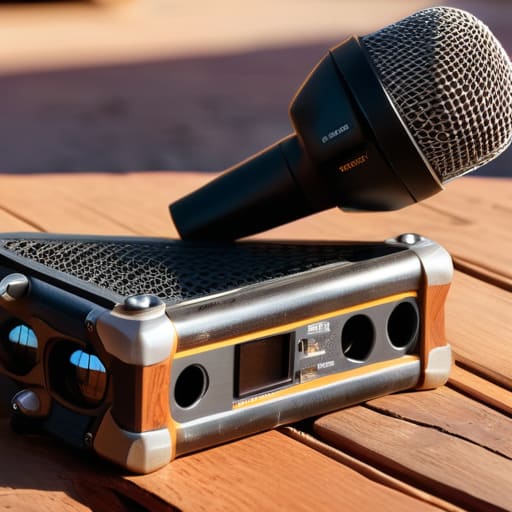
When you’re looking for a compact microphone for travel, the marketing fluff will try to sell you on “studio quality” in your pocket. Ignore it. In the real world, you aren’t sitting in a treated booth; you’re standing next to a generator in Marrakech or a windy pier in Brighton. I’ve spent too many hours trying to fix “thin” audio in post-production because someone prioritized size over a decent capsule. If you’re building a portable field recorder setup, prioritize a mic with a decent internal shock mount. Without it, every time you shift your weight or bump your bag, you’ll get a low-frequency thud that is nearly impossible to EQ out without destroying the voice.
Don’t get caught in the trap of buying every piece of vlogging equipment for travelers just because it looks sleek on a shelf. You need a shotgun mic that can handle a bit of ambient noise or a high-quality lavalier if you’re doing sit-down interviews. My rule of thumb: if the mic doesn’t have a physical gain knob, think twice. Relying on software gain while you’re on the move is a recipe for digital clipping and a very long night of editing.
Digital Nomad Audio Gear That Survives the Transit
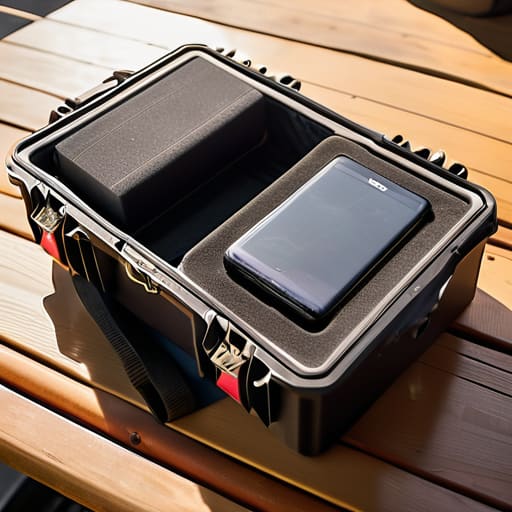
If you’re living out of a backpack, your biggest enemy isn’t a bad guest; it’s the physical degradation of your kit. I’ve seen too many people pack a pristine portable field recorder setup only to have it arrive at a hostel looking like it went through a rock tumbler. You need to stop thinking about “packing” and start thinking about structural protection. Don’t just throw your cables in a mesh pouch. Get a hard-shell Pelican case for the expensive bits—the recorder, the primary mic, the interface—and use the leftover space for your power bricks. If you’re relying on cheap, braided cables that tangle easily, you’re asking for a headache when you’re trying to set up in a cramped cafe in Lisbon.
When it comes to digital nomad audio gear, the rule is simple: if it doesn’t have a ruggedized housing, it probably shouldn’t be your primary tool. I’ve learned the hard way that “lightweight” often translates to “flimsy plastic that cracks under pressure.” Look for gear that can handle a bit of humidity and the occasional bump against a train seat. Weight is a secondary concern; durability is everything. You can always carry an extra battery, but you can’t carry a replacement preamp when the original one dies in a remote village.
Five Things That Will Break Your Heart (and Your Workflow)
- Pack two sets of headphones. I don’t care if you think you’re organized; someone is going to leave a pair in a taxi in Lisbon, or a cable is going to fray in your bag, and if you don’t have a backup, you’re just recording into the void.
- Get a dedicated power bank that can actually handle a laptop or a high-draw audio interface. Most people grab a cheap phone charger, realize halfway through a recording session in a cafe that their interface is draining their battery, and end up with a corrupted file and a very expensive paperweight.
- Buy a decent set of foam windscreens or “deadcats.” If you’re recording outdoors, a breeze hitting a capsule is the fastest way to turn a beautiful interview into an unfixable mess of low-frequency distortion that no amount of EQ can save.
- Stop relying on your laptop’s built-in storage. Buy a rugged, external SSD—something with a rubberized casing—and keep your raw files there. If your laptop decides to run an update or a drive fails while you’re halfway through a trip, you need that data somewhere else.
- Carry a physical notebook and a pen. I know, it feels retro, but when your phone dies or your recording app crashes because of a background sync, you need a way to jot down timestamps, guest names, and specific environmental sounds so you aren’t guessing during the edit.
The Reality Check
Stop chasing the specs on a gear list; if it doesn’t fit in your carry-on and survive being shoved into a backpack under a seat, it’s just dead weight.
Your environment will always be noisier than you think, so prioritize a mic with a tight polar pattern over a fancy condenser that picks up every passing taxi.
Redundancy isn’t a luxury when you’re on the move—carry a backup cable and a secondary recording device, because a single failed connection shouldn’t cost you an entire day of interviews.
The Real Cost of a Gear List
Stop looking at the spec sheets for a second. A travel kit isn’t about which microphone has the flattest frequency response; it’s about whether you can pull it out of your bag, set it up in a noisy terminal, and get a clean signal before your connection leaves without you. If it takes more than thirty seconds to deploy, it’s just extra weight you’re carrying for no reason.
Nadine Okafor
The Reality of the Field
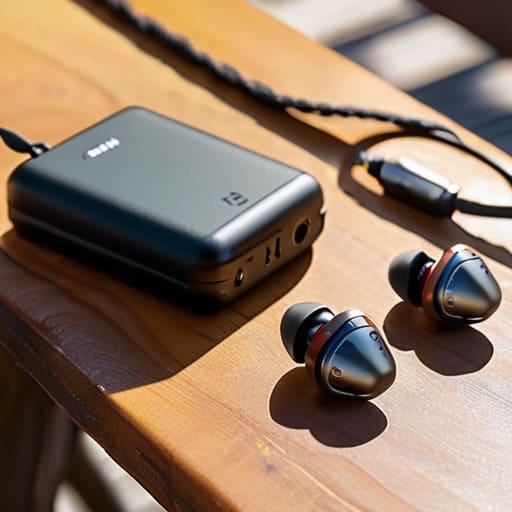
At the end of the day, your kit isn’t about having the most expensive setup in your backpack; it’s about having a setup that doesn’t fail when you’re standing in a drafty terminal or a noisy cafe. You need that reliable, compact mic, a recorder that won’t die mid-sentence, and enough extra cables to handle the fact that nothing ever goes according to plan. I’ve spent more time troubleshooting a dead battery in a foreign city than I have actually editing the “good” takes, so please, prioritize redundancy over prestige. If your gear is too heavy to carry or too delicate to toss in a bag, you simply won’t use it, and a kit you don’t use is just expensive weight.
Don’t let the technical hurdles or the fear of a bad recording stop you from actually getting out there. There will be days when the wind ruins your levels and days when your guest is incredibly difficult to capture, but that is just the job. The most important piece of equipment you own isn’t the one you bought on Amazon; it’s your willingness to keep recording even when the conditions are less than ideal. The stories are worth the struggle, and the craft gets better every time you pack that bag and head out.