I once spent four hours editing a documentary interview only to realize the guest’s lavalier was clipped to a heavy wool cardigan, creating a rhythmic thump-thump-thump every time they breathed. It wasn’t a gear failure; it was a fundamental misunderstanding of how to use a lavalier microphone in a real-world environment. Most of the tutorials you’ll find online make it look like you just stick the clip on and walk away, but they don’t tell you about the clothing rustle, the shirt-collar friction, or the way a cheap battery pack can introduce a hum that ruins an entire session.
I’m not here to sell you a $500 wireless system or a masterclass on acoustic physics. I want to give you the practical, slightly unglamorous truth about placement, cable management, and why your choice of fabric matters more than your choice of brand. We’re going to cover the actual mechanics of how to use a lavalier microphone so you can stop fighting your audio in post-production and start actually focusing on the story you’re trying to tell.
Mastering Wireless Lavalier Microphone Setup Without the Tech Panic
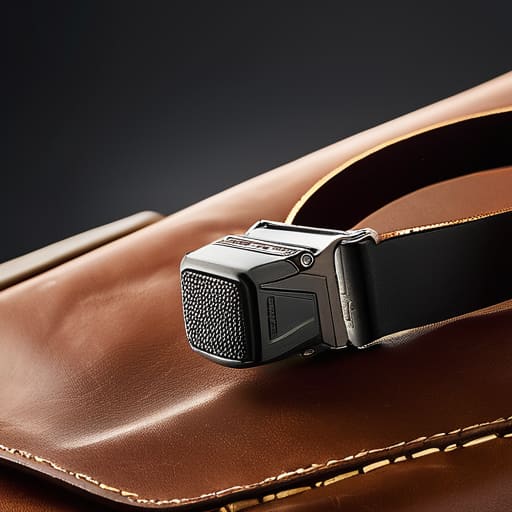
The moment you switch from a wired setup to a wireless lavalier microphone setup, your biggest enemy isn’t signal dropouts—it’s physics. People tend to panic about frequency interference, but usually, the disaster is much more mundane: the transmitter is too heavy for the subject’s clothing, or the battery is sitting in a pocket where it’s being muffled. I always tell my juniors to clip the transmitter to a sturdy belt or a dedicated pouch. If you just shove it into a thin shirt pocket, the weight will pull the fabric down, creating a rhythmic thump-thump-thump every time the guest breathes.
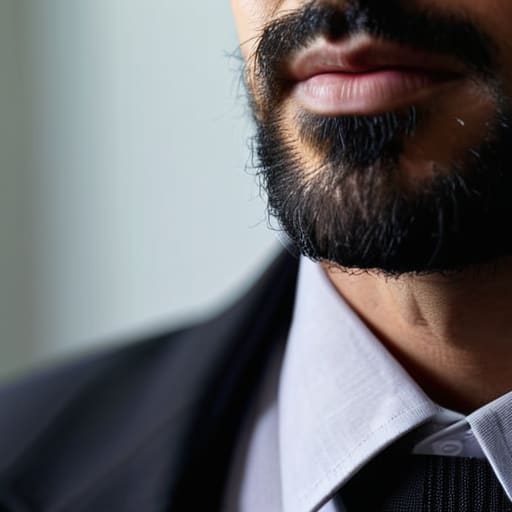
When it comes to the actual mic, finding the best lavalier mic placement for interviews is a game of inches. You want the capsule about a hand-span below the chin, centered on the sternum. If you go too high, you get those harsh plosives every time they say a word starting with ‘P’; too low, and the voice loses its body and starts sounding thin. Most importantly, spend an extra thirty seconds reducing clothing rustle in audio by using a bit of medical tape to secure the cable to the inside of their shirt. It prevents that dreaded scratching sound that makes an editor want to throw their headphones across the room.
Lapel Mic Positioning Guide Stop Sounding Like Youre in a Closet
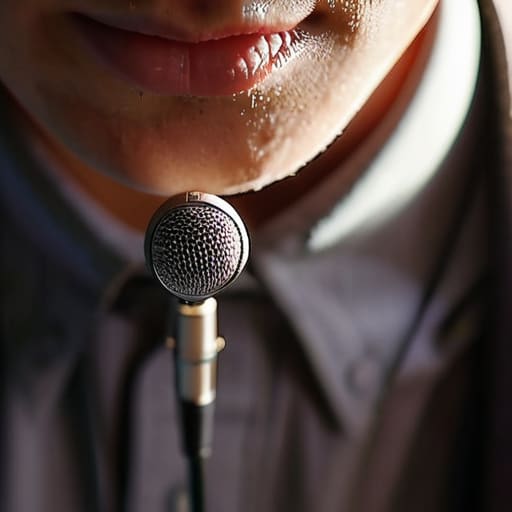
The biggest mistake I see isn’t the budget of the gear; it’s the placement. If you clip that mic too high, near the chin, every time your guest swallows or shifts their weight, you’re going to get a thud that sounds like a hammer hitting a pillow. If you go too low, you’re essentially recording the floor. For the best lavalier mic placement for interviews, aim for the mid-sternum, about six to eight inches below the chin. This keeps the capsule close enough to catch the voice clearly but far enough away that the physical mechanics of speaking don’t overwhelm the signal.
You also need to be hyper-aware of what the mic is touching. If you clip it directly onto a silk blouse or a heavy wool sweater, you are asking for disaster. You’ll spend your entire edit trying to fix reducing clothing rustle in audio, and trust me, that is a nightmare that no amount of EQ can truly salvage. Use a small piece of medical tape or a clip to secure the cable to the underside of the shirt. This stops the wire from tugging on the mic every time the guest breathes or moves their arms.
Five Ways to Stop Your Lavalier Audio from Becoming an Editing Nightmare
- Check your gain levels before the guest even sits down. I’ve seen too many beginners set their levels based on a quiet whisper, only to have the guest laugh or lean in, and suddenly you’re looking at a waveform that’s nothing but red-lined digital clipping. Set your levels for the loudest expected moment, not the quietest.
- Watch out for “clothing rustle.” If you clip the mic to a thin silk blouse or a heavy wool sweater, every time the person breathes or shifts in their seat, it sounds like a thunderstorm in your headphones. Use a bit of medical tape or a small piece of moleskin on the back of the mic to pin the fabric against their body. It keeps the mic steady and the audio clean.
- Mind the cable management. A dangling wire is a recipe for a “thump” every time the person moves their arm. Run the cable under their shirt and secure it with a clip or a piece of tape at the waistline. If the cable isn’t anchored, the movement travels straight up the wire and into the capsule.
- Test for “mouth clicks” and sibilance. Some lavalier mics are incredibly sensitive to the wet sounds of a speaker’s mouth. If you notice a guest is particularly “clicky,” move the mic just an inch or two further down the chest. It creates a slightly more natural distance and can soften those harsh, distracting transients.
- Always, always record a backup. If you’re using a wireless lav, you are at the mercy of radio interference. If someone walks past with a powerful transmitter or a rogue Wi-Fi signal, your audio will drop out. If the budget allows, have a shotgun mic on a stand nearby just to catch the room audio as a safety net. I’ve spent many a late night trying to salvage a “perfect” interview that was actually just a series of digital dropouts.
The Hard Truths of Lav Mic Success
Mic placement is about physics, not aesthetics; if you aren’t at least a hand-width below the chin, you’re going to end up with a muffled, bass-heavy mess that takes hours of EQ to fix.
Always run a 30-second sound check specifically to listen for clothing rustle, because a perfectly placed mic is useless if every time your guest breathes, it sounds like a thunderstorm on a nylon jacket.
Test your wireless signal in the actual room before you hit record; don’t assume the line of sight between the transmitter and receiver stays clear once you’ve started the actual interview.
The Real Cost of a Bad Mic Placement
You can spend three thousand pounds on a wireless kit, but if you clip that lavalier to the bottom of a heavy knit sweater or let it rub against a nylon lapel every time the guest breathes, you aren’t recording a podcast—you’re recording a rhythmic scratching nightmare that no amount of EQ is ever going to fix.
Nadine Okafor
Getting It Right the First Time
At the end of the day, a lavalier isn’t a magic wand; it’s a tool that demands your attention before you hit record. If you’ve checked your cable management, confirmed the mic isn’t rubbing against a noisy lapel, and double-checked your gain levels to ensure you aren’t clipping, you’ve already beaten most of the beginners I see. Remember that positioning is everything—a mic placed too low or too close to a chin will ruin a perfectly good interview faster than any software plugin can fix it. Don’t let the gear intimidate you, but don’t let it fool you into being lazy either. Watch your levels, mind your placement, and for heaven’s sake, do a thirty-second test recording before you let your guest start their life story.
I know it feels like a lot of technical overhead when you just want to get to the storytelling, but this is where the real work happens. Podcasting isn’t just about having a platform; it’s about the discipline of capturing a moment without the distraction of bad audio. You’re going to mess up sometimes—I still find clips in my own work that make me wince—but that’s how you learn. Once you stop worrying about the wires and start trusting your setup, you can finally focus on what actually matters: the conversation. Now, stop reading about it and go get some clean audio.