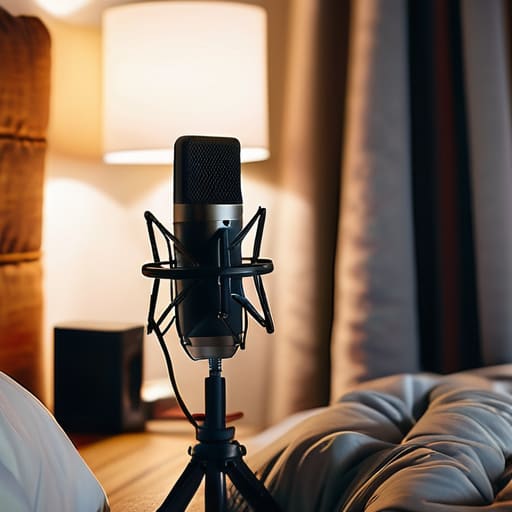
I spent three years thinking I needed a dedicated studio space with professional-grade acoustic panels before I could take my podcast seriously. I actually looked at a quote for a custom setup once and nearly had a heart attack; it was more than my first three months of freelance fees combined. Most of the “pros” online will tell you that you need specialized foam or high-end bass traps to get a clean signal, but they’re usually the ones trying to sell you a course on it. The truth is, if you’re trying to figure out how to treat a room cheaply for recording, you don’t need a credit card—you need a better understanding of physics and household clutter.
I’m not here to give you a shopping list of gear you can’t afford. Instead, I’m going to show you how I’ve managed to get studio-quality dry vocals using nothing more than a heavy duvet, a bookshelf full of uneven paperbacks, and a strategically placed pile of laundry. We’re going to talk about deadening reflections and managing your floor surface without spending a penny on “acoustic solutions” that are mostly just colored foam. This is about making the space you actually have work for you.
Diy Soundproofing Solutions That Actually Work
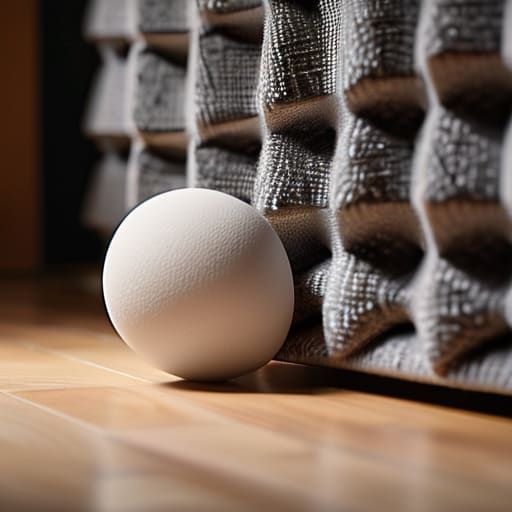
First, let’s clear something up: you aren’t actually “soundproofing.” Unless you’re building a room within a room with thick masonry, you aren’t stopping sound from leaving or entering. What you are actually doing is reducing room reverb on a budget by stopping sound from bouncing off your hard surfaces. If you try to buy your way out of this with those thin, egg-carton-style foam kits you see on Amazon, you’re just throwing money at a problem that doesn’t exist. Those things do nothing for the low-end frequencies that make a recording sound “muddy.”
If you want a real home studio acoustic setup without the professional price tag, look at your linen cupboard. Heavy moving blankets are your best friend; hang them over windows or behind your recording position using a simple tension rod. For the corners, where the low-end bass tends to build up and create that boomy, amateur sludge, skip the expensive commercial panels. You can build affordable bass traps by stacking dense pillows or even tightly packed towels in those 90-degree junctions. It’s not pretty, but it’s effective.
Reducing Room Reverb on a Budget Without Breaking Things
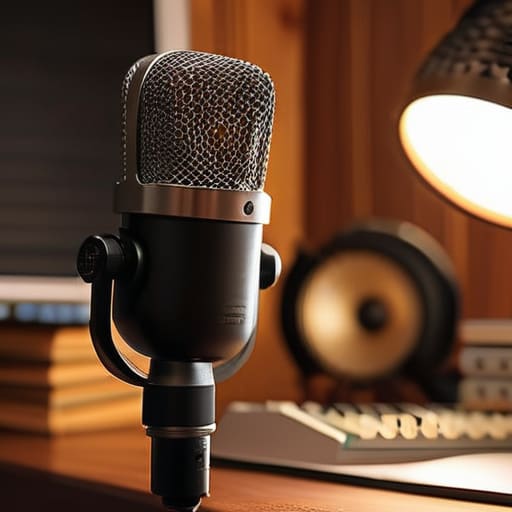
If you can’t afford a professional studio, your biggest enemy isn’t background noise; it’s the sound bouncing off your bare walls and making you sound like you’re recording in a tiled bathroom. This is where most people get tripped up, thinking they need to buy expensive panels. In reality, reducing room reverb on a budget is mostly about breaking up flat, hard surfaces. If you have a bookshelf, move it to the wall directly opposite your microphone. A shelf full of books of varying sizes acts as a decent makeshift diffuser, scattering those annoying sound waves instead of letting them bounce straight back into your mic.
Don’t ignore the corners, either. Low-end frequencies love to gather in corners and turn your audio into a muddy mess. While professional affordable bass traps can cost a fortune, you can mimic the effect by stacking heavy pillows or even a beanbag chair in the corners of the room. It’s not pretty, and it certainly won’t look good on an Instagram “studio tour,” but it will stop your voice from sounding hollow. It’s about controlling the energy in the room, not decorating it.
Five ways to stop your room from sounding like a bathroom
- Kill the hard surfaces with soft goods. If you have a bare desk in front of you, your microphone is going to pick up every reflection off that flat surface. Throw a heavy towel or a thick tablecloth over the desk. It’s not pretty, but it stops the immediate bounce.
- Use your wardrobe as a vocal booth. I’ve recorded more decent-sounding voiceovers inside a walk-in closet than I have in “professional” home studios. The clothes act as perfect, irregular diffusers and absorbers. Just make sure you aren’t hitting the hangers every time you move.
- The “Cloud” hack. Most people forget about the ceiling. If you have high ceilings and hardwood floors, the sound is bouncing vertically. If you can safely rig a thick comforter to hang a few inches above your head while you record, you’ll cut the room tone significantly.
- Rugs are non-negotiable. If you are recording on a hard floor, you are losing the battle before it starts. Get a heavy area rug—the shaggier the better—and put it directly under your chair and mic stand. It’s the easiest way to soak up the low-mid mud.
- Corner traps don’t have to be professional foam. Bass builds up in the corners of a room and makes everything sound boomy and amateur. If you have extra pillows or even a beanbag chair, shove them into the corners of the room. It’s a crude way to manage those low frequencies, but it beats a muddy mix.
The bottom line for your setup
Stop chasing “soundproofing” and start chasing “treatment”; you aren’t trying to build a vacuum-sealed bunker, you’re just trying to stop your voice from bouncing off the drywall.
If you have more hard surfaces than soft ones, you’re going to have a bad time—bring in the rugs, the heavy curtains, and yes, the laundry pile.
Test your environment with a simple clap test before you hit record; if you hear a ring, you haven’t added enough mass to the room yet.
The acoustic truth
Stop looking at those professional foam pyramids on Amazon; they’re mostly aesthetic. If you want to actually kill the flutter echo in a bedroom, grab every heavy duvet, thick rug, and overstuffed armchair you own and pile them in the corners. I’ve recorded better-sounding interviews in a walk-in closet full of winter coats than I have in rooms with five hundred pounds worth of useless acoustic foam.
Nadine Okafor
Stop overthinking the gear
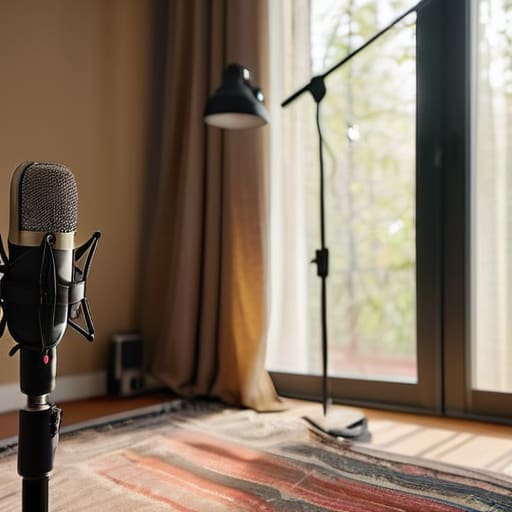
Look, we’ve covered a lot of ground, from using your laundry pile as a makeshift bass trap to the reality that a heavy rug does more for your floor reflections than any fancy acoustic panel you’ll find on an Amazon sponsored ad. The goal isn’t to turn your spare bedroom into a professional studio that meets ISO standards; the goal is to eliminate the slap-back echo and the hollow, tinny sound that tells a listener they’re stuck in a bathroom. If you’ve managed to soften the hard surfaces and kill the most obvious reflections using stuff you already own, you have done more than 70% of the beginners I see struggling in my inbox every week.
Don’t let the lack of a treated room be the excuse that keeps you from hitting record. I spent my first year obsessing over the perfect setup, only to realize that a decent performance captured in a closet beats a mediocre one recorded in a “perfect” room that sounds like a vacuum. The technical side is learnable, and the gear will eventually catch up to your ambition, but the story you are telling is what actually matters. Get the blankets up, check your levels, and just start recording. The rest is just housekeeping.