I once spent four hours in a drafty community hall in the Midlands, sweating through my shirt while trying to explain to a nervous subject why I couldn’t just “turn off” the hum of a nearby industrial refrigerator. I had a bag full of gear that cost more than my first car, but I still felt like a complete amateur because I hadn’t accounted for the acoustic nightmare of a room with floor-to-ceiling glass. If you’re looking for a tutorial that tells you how to record on location by simply buying a specific brand of expensive shotgun mic, you’re in the wrong place. The truth is, your gear won’t save you from a bad room, a loud air conditioner, or a guest who won’t stop fidgeting with their jewelry.
I’m not here to sell you a masterclass or a gear list that will drain your bank account. I want to talk about the actual, unglamorous mechanics of surviving a field recording without losing your mind or your audio quality. We’re going to look at how to manage your environment, how to handle the unexpected noise that always shows up, and how to set your levels when the world refuses to be quiet.
The Portable Audio Recording Gear That Actually Survives Travel
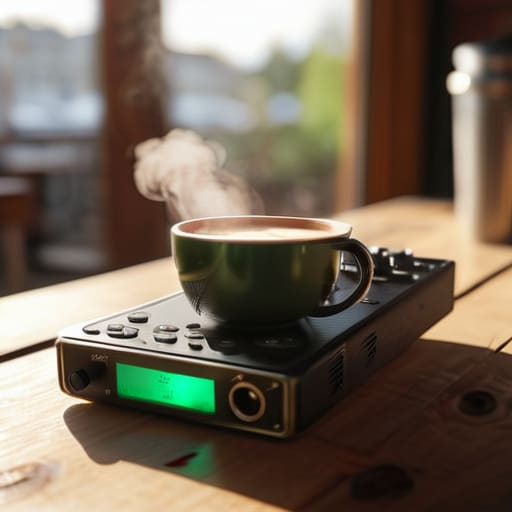
Look, you don’t need a mobile studio that weighs forty pounds to get a clean signal. I’ve seen too many beginners show up to a café with a massive condenser mic and a tripod, only to realize they look like they’re filming a BBC documentary and everyone is staring. For most of my location work, I stick to a reliable field recorder setup guide that prioritizes weight and battery life over everything else. A solid handheld recorder—something like a Zoom H5 or a Tascam—is your backbone. It’s small enough to shove in a jacket pocket but has the preamps to handle more than just a whisper.
The real secret to gear that survives travel isn’t just the brand; it’s the redundancy. I never leave the house without two sets of headphones and a spare set of AA batteries, even if my recorder is rechargeable. If you’re serious about minimizing background noise, skip the built-in mics on the device and invest in a decent pair of dynamic lavaliers or a compact shotgun mic. Dynamics are your friend when you’re recording in a noisy terminal or a crowded pub because they don’t pick up the ambient hum as aggressively as condensers do.
Minimizing Background Noise When the World Wont Shut Up
You can have the most expensive portable audio recording gear in your bag, but if you don’t respect the physics of the space, you’re just recording high-fidelity garbage. The biggest mistake I see is people treating the microphone like a magic wand that ignores reality. It doesn’t. If you’re standing near an air conditioning unit or a busy street, that hum is going to be baked into your files. You can try to EQ it out later, but you’ll just end up with a hollow, digital-sounding mess. Minimizing background noise starts with a physical scan of the room before you even hit record. Look for the fridge, the hum of the lights, and the distant traffic.
Once you’ve picked your spot, your next job is active audio monitoring on set. I never trust the meters alone; I put my headphones on and listen to the silence. If I can hear a distant siren or a computer fan, your listener will too. If you’re using a shotgun mic, remember that directionality is your best friend, but don’t rely on it to do all the heavy lifting. Positioning is everything.
Five things that will actually save your recording
- Always record a “room tone” sample. Before you even ask your guest to say hello, hit record and sit in silence for 60 seconds. You need that clean, ambient floor of the room so that when I’m sitting in my studio later trying to gate out a hum or a distant air conditioner, I actually have something to match it against.
- Use closed-back headphones, not just because you want to hear the guest, but so you can hear what they aren’t saying. If you can hear a refrigerator compressor kicking in or a distant siren through your cans, your listener is going to hear it too. If you can’t hear the problem in your headphones, you aren’t listening hard enough.
- The “Two-Mic Rule” is your insurance policy. If you’re interviewing someone, use two separate tracks. If you try to use a single stereo mic to capture both people, you’re stuck. If one person moves six inches to the left or starts coughing, you can’t fix the balance in post without making the other person sound like they’re underwater.
- Check your levels with a “real” voice, not a whisper. People often set their gain based on a quiet, polite greeting, only to have the guest launch into an enthusiastic, loud anecdote five minutes later that clips the digital ceiling. Set your peaks to around -12dB to -6dB to give yourself actual headroom for when things get loud.
- Manage the guest’s physical space, not just their voice. If you’re in a cafe, move them away from the espresso machine. If you’re in a hallway, get them away from the door. A single heavy footfall or a door slamming in the background is a nightmare to de-noise, and no amount of EQ is going to make it sound natural.
The Hard Truths to Carry in Your Bag
Gear is secondary to the room; if you can’t find a space with soft surfaces to kill the slapback echo, no amount of expensive preamps will fix a hollow-sounding recording.
Always record a “room tone” sample—at least 30 seconds of silence in the actual space—so you actually have something to use when you’re trying to patch a hole in the edit later.
Redundancy isn’t a luxury, it’s a requirement; if you aren’t recording a backup track or at least checking your levels on headphones every ten minutes, you’re just gambling with your time.
The Myth of the Perfect Setting
You can spend three grand on a field recorder that handles a hundred decibels of SPL, but it’s still not going to fix a guest who’s sitting in a tiled kitchen or a room with floor-to-ceiling windows. If you aren’t looking for the heavy curtains or the rug to kill the slap-back, you aren’t recording; you’re just documenting a bad acoustic environment.
Nadine Okafor
The Reality Check
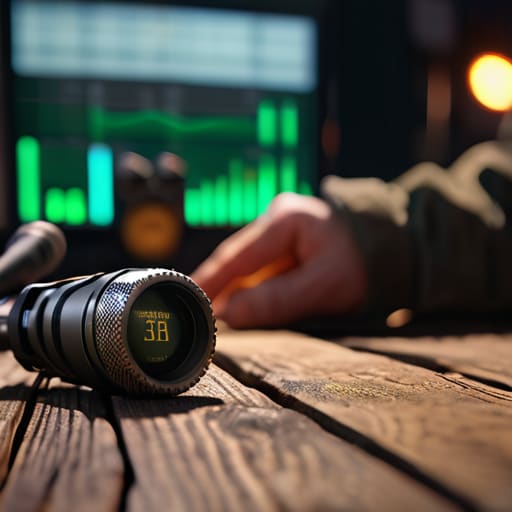
At the end of the day, location recording is a game of damage control. You can pack the most expensive field recorder in the kit, but if you haven’t accounted for the hum of a refrigerator, the acoustics of a tiled hallway, or a guest who refuses to sit still, you’re going to spend ten hours in post-production trying to fix what should have been handled on-site. It comes down to having the right kit that doesn’t break when you drop it, being ruthless about monitoring your levels in real-time, and always, always having a backup plan for when the environment decides to fight you. It isn’t about perfection; it’s about making sure the story is actually audible once you get back to your desk.
Look, there will be days when you record twenty minutes of gold only to realize a passing truck ruined the entire take, or when your battery dies just as the subject starts getting vulnerable. That’s part of the job. Don’t let the technical hiccups convince you that you aren’t cut out for this. The difference between a hobbyist and a professional isn’t that the professional never has things go wrong; it’s that they know how to pivot when they do. Keep your levels steady, keep your ears open, and just keep recording. The craft is in the doing.