I spent three weeks in my early twenties convinced that if I just spent another £400 on a condenser mic, my bedroom recordings wouldn’t sound like I was sitting inside a hollowed-out cello. I was wrong. You can buy the most expensive gear on the market, but if your walls are bouncing sound waves around like pinballs, you’re just recording high-fidelity garbage. The truth is, learning how to build an absorber panel yourself is a much better investment than any microphone upgrade. I’ve sat through countless hours of editing where I had to fight through “boxy” room tones that no amount of EQ could fix, and it usually came down to one thing: the room was untreated.
In this guide, I’m not going to sell you on some complicated acoustic theory or expensive proprietary foam that does nothing but look like egg cartons. I’m going to show you the exact way to build panels using rockwool and basic timber that actually work. We’ll go over the specific dimensions, the density of the insulation you need, and how to wrap them so they don’t look like a total eyesore. This is about practical, functional physics—not gear worship.
Guide Overview
Tools & Supplies
- Measuring tape for accurate sizing
- Utility knife for cutting insulation and fabric
- Staple gun for securing fabric to frame
- Drill and screws for assembling wood frame
- Acoustic mineral wool or fiberglass insulation (1 sheet)
- Wood furring strips or 1×3 pine (approx. 10-12 linear feet)
- Breathable acoustic fabric (approx. 2-3 yards)
- Wood screws (small box)
- Spray adhesive or staples (1 pack)
Step-by-Step Instructions
- 1. Get your materials together before you start tearing things apart. You aren’t looking for expensive acoustic foam that looks like egg cartons; that stuff is mostly useless for low frequencies. You need high-density mineral wool (like Rockwool) or rigid fiberglass boards. I usually go for 4-inch thick slabs. You’ll also need some timber for the frames—standard 1x4s work fine—a staple gun, some heavy-duty fabric that breathes, and a saw. If you can’t blow air through the fabric when you hold it up to your mouth, it’s too thick and will just bounce the sound back at you.
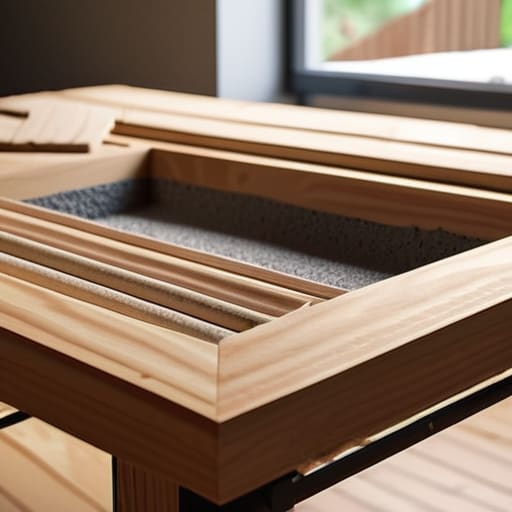
- 2. Build your wooden frames. Measure your mineral wool slabs first so you know exactly how much wood you need to wrap around them. You want to build a simple rectangular box with your timber. Use a drill and some wood screws to join the corners, not just nails; you want these things to be solid and sturdy so they don’t rattle when a heavy bass note hits the room. If you’re feeling ambitious, you can build them slightly deeper than the wool, but a flush frame is much easier to manage.
- 3. Stuff the frames with the insulation. This is the part where you realize why people wear gloves. Mineral wool is incredibly itchy and can irritate your skin and lungs, so don’t be a hero—wear a mask and long sleeves. Lay your slabs into the wooden frames you just built. If there are gaps between the wool and the wood, stuff them in tight. You want a continuous mass of absorbent material; air gaps are where the acoustic energy escapes.
- 4. Wrap the frames in fabric. This is where the panel actually starts to look like something you’d want in your workspace rather than a construction site. Lay your breathable fabric face down on the floor, place the frame (insulation side down) on top of it, and pull the fabric tight. Use your staple gun to secure the fabric to the back of the wooden frame. The trick is to wrap it like a gift; keep the tension even on all four sides so you don’t end up with weird wrinkles or sagging in the middle.
- 5. Seal the back (optional but recommended). If you’re worried about getting tiny mineral wool fibers into your carpet or your lungs, you can staple a thin layer of landscape fabric or a very cheap, lightweight muslin to the back of the panel. It doesn’t need to be pretty; it just needs to act as a secondary barrier. I usually skip this if I’m hanging them on a wall, but if they’re sitting on a stand, it’s worth the extra five minutes.
- 6. Hang them up. Don’t just slap them flat against the wall if you can help it. If you can leave a two-inch gap between the panel and the wall, the absorber will actually work much better because it can catch the sound waves as they pass through the material and bounce off the wall behind it. Use heavy-duty Z-clips or even simple picture hanging wire, but make sure whatever you’re using is rated for the actual weight of the panel. Mineral wool is heavier than it looks.
Rockwool vs Fiberglass for Acoustics Choosing Your Core Material
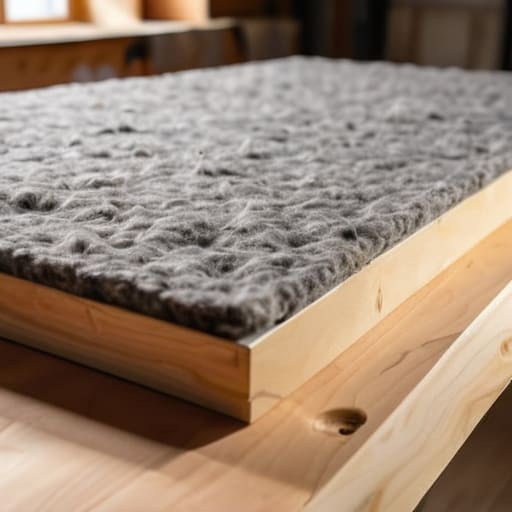
When you’re standing in the hardware aisle staring at different insulation options, don’t let the sales pitch confuse you. The debate of rockwool vs fiberglass for acoustics usually boils down to density and how much you value your lungs. I’ve always leaned toward Rockwool (specifically the mineral wool stuff, like Rockwool Safe’n’Sound). It’s denser, which means it’s better at catching those low-mid frequencies that make a room sound “boxy.” Fiberglass is lighter and can be a bit more finicky with its sound absorption frequency response, but it’s often easier to cut if you’re working with a duller blade.
Just a heads-up: whatever you choose, wear a mask and gloves. This isn’t a hobby for the faint of heart, and you don’t want to be breathing in micro-fibers while you’re building wooden acoustic frames. If you’re looking at improving room acoustics DIY-style on a budget, Rockwool is usually the gold standard for a reason. It stays put in the frame better and provides a much more predictable result for the money. Once you’ve picked your core, the rest is just making sure your fabric selection for sound panels is breathable enough to actually let the sound waves through.
Building Wooden Acoustic Frames and the Right Fabric Selection
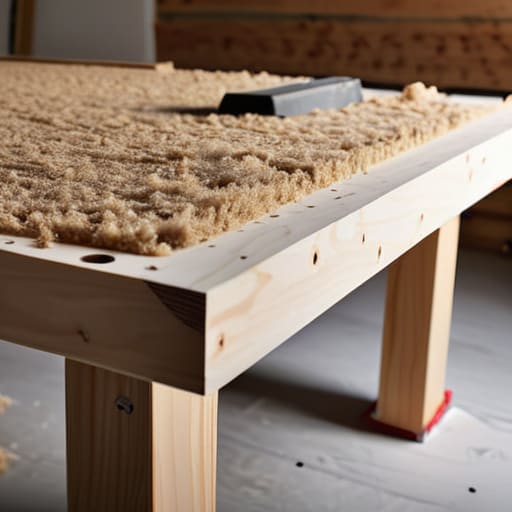
When you start building wooden acoustic frames, don’t overcomplicate the joinery. You aren’t building a fine mahogany dining table; you’re building a housing for mineral wool. I usually go with standard 1×4 pine studs. Keep your measurements about a quarter-inch wider than your core material so you aren’t fighting to wedge the Rockwool into a tight spot. If you’re building multiple panels, use a single jig to ensure they’re identical. There is nothing more frustrating than realizing your “symmetrical” wall of acoustic treatment is actually a staggered mess because your cuts were off by five millimeters.
For your fabric selection for sound panels, the golden rule is simple: if you can blow air through it, it’s probably fine. I always test my fabric by trying to breathe through it; if it offers significant resistance, it’s going to reflect high frequencies rather than letting them pass into the core. Avoid anything with a heavy plastic backing or a tight weave like heavy denim. You want something breathable like a light burlap or a polyester mesh. If the fabric is too dense, you’re essentially just building expensive, decorative picture frames that do nothing for your room.
Five things I wish I’d known before I started hammering frames
- Don’t skimp on the thickness; a 2-inch panel is fine for high-end flutter, but if you want to actually tame the mid-range frequencies that make voices sound boxy, you need 4 inches of material.
- Check your fabric’s “breathability” before you buy it—if you can’t blow air through the cloth easily with your mouth, it’s going to reflect high frequencies instead of letting them pass into the core.
- Leave a small gap between the panel and the wall; mounting them with a 1-to-2-inch air space actually increases their effectiveness at lower frequencies without costing you an extra penny in materials.
- Wear a mask and gloves when handling the core—I learned the hard way that Rockwool fibers are not your friend, and “itchy skin” is a much worse way to spend an afternoon than just being careful.
- Don’t aim for perfection in the corners; if you’re on a budget, prioritize placing your panels at the “first reflection points” (where the sound hits the side walls) rather than trying to cover every square inch of the room.
The short version
Don’t overspend on the frame; a sturdy, simple wooden box is plenty, but do not skimp on the density of your core material—Rockwool is your best friend here.
Fabric choice isn’t about aesthetics; if you can’t blow air through it easily, it’s going to bounce sound waves right back at your microphone instead of absorbing them.
You don’t need to cover every square inch of the room to see a difference; focus on the primary reflection points where the sound hits the walls first.
## The truth about "pro" sound
You can spend three grand on a Neumann mic, but if you’re recording in a room with bare drywall and a hardwood floor, you’re just capturing high-fidelity echoes. A DIY absorber panel isn’t a luxury; it’s the difference between a podcast that sounds like a professional production and one that sounds like a conversation in a tiled bathroom.
Nadine Okafor
The Bottom Line
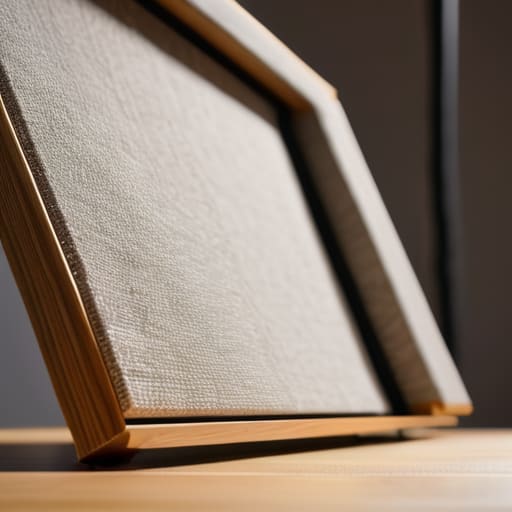
Once you’ve got your frames built and your Rockwool or fiberglass tucked in tight, you’re essentially done with the heavy lifting. You don’t need a degree in acoustic engineering to make this work; you just need to ensure your fabric is breathable enough that you can blow air through it, and that your frames are sturdy enough to stay on the wall without becoming a hazard. It’s a simple process of choosing the right density, wrapping it neatly, and getting it into the corners or along the first reflection points of your room. It isn’t glamorous, and it certainly won’t make your voice sound like a BBC announcer overnight, but it will stop the flutter echo that makes a home recording sound amateur and thin.
Look, I know there’s a temptation to just go out and buy a thousand pounds worth of pre-made foam or high-end acoustic treatment because it feels like the “professional” thing to do. But the truth is, most of those products are just overpriced versions of what you’ve just built. By doing this yourself, you’re learning the actual physics of your space rather than just decorating it. Don’t let the lack of a perfect studio stop you from hitting record. The goal isn’t perfection; it’s control over your environment, and once you have that, you can finally focus on the one thing that actually matters: the story you’re telling.